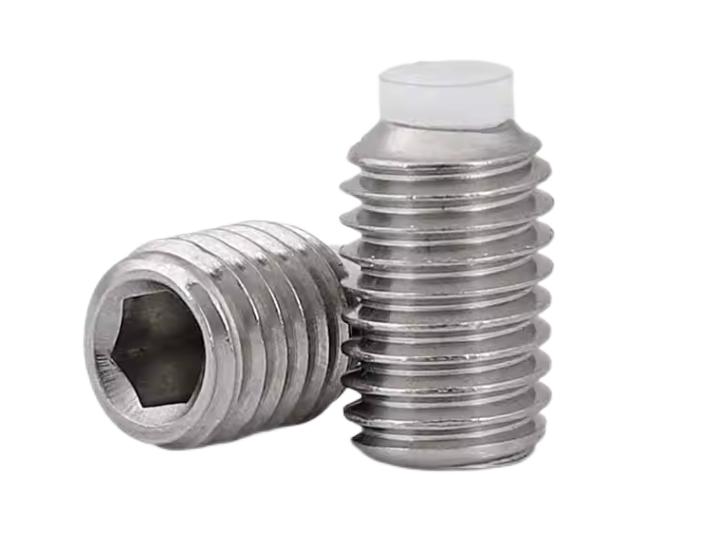
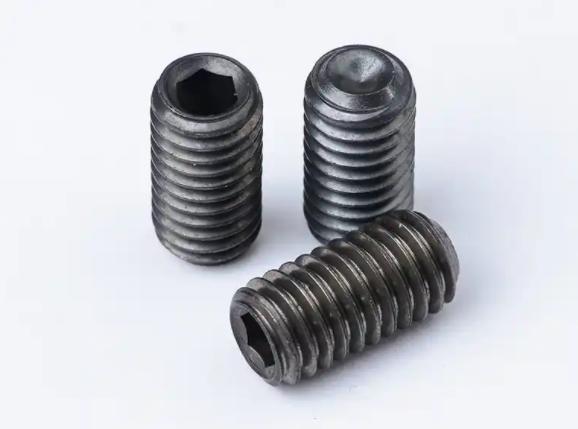
How to Remove a Stripped Set Screw
In regular repair and assembly Set screws play an important function in securely securing parts and ensuring that equipment remains solid. But, if the set screw is damaged, the problem will begin. However hard you attempt, it will not let go like it’s trapped in a war of wills against you.
And, even more importantly, pushing it can cause damage to the adjacent components, making a repair into a major hassle. Don’t get discouraged! This article will provide an array of easy and efficient tricks to how to take off a set screw that has been stripped to help you take off a set screw that is stripped and return control to the repair process!
Table of Contents
Part 1. What is a Stripped Set Screw?
A damaged set screw is an event in which the screw head or inner drive (such as the Hex socket) wears out or is damaged, causing tools to lose their grip and making it difficult – or even impossible, to move the screw.
In simpler words it is because the screw “lost its teeth,” which makes it difficult to take off. This problem is very common when it comes to repair or assembly work. It usually happens when the following conditions are present:
Utilizing worn or mismatched equipment: For example, using a hex tool that isn’t big enough or is worn-out could end up damaging the head of the screw.
Utilizing too much force or utilizing an improper angles: The force applied to tighten or loosen a screw using incorrectly aligned force could alter the shape of the screw head and cause stripping.
Material for soft screws: Certain set screws are made of softer metals. If the quality is not good the screw will easily deform under the pressure of extreme tension.
The corrosion and the rust The screws exposed to moisture for an extended period of time can get rusty and swell creating resistance, making stripping more likely when removing.
Understanding the cause of an untight set screw is vital. It assists you in choosing the correct removal method and, most importantly will allow the user to implement preventive steps to prevent more damage and limiting repairs.
Part 2. Tools to Prepare Before Removing a Stripped Set Screw
Before beginning work on the removal of the set screw that has been stripped it is essential to have the proper tools. A well-equipped tool does more than increase efficiency, it will also decrease the chance of causing damage to the screw or the surrounding components when working. Here are the tools recommended to use:
- Properly Sized Hex Key (also known as a screwdriver): Making use of a screwdriver that fits the screw’s size precisely, and has well-groomed edges that are not worn, will allow you to get the most grip possible on the head of the screw that was stripped.
- Rubber Hand: A simple yet effective trick. The use of a rubber band between your tool and screw head will increase the friction and increase the chance of making the screw turn.
- Screw Extractor: When the screw has been badly damaged or damaged, a professional screw extractor is able to easily and effectively take it off.
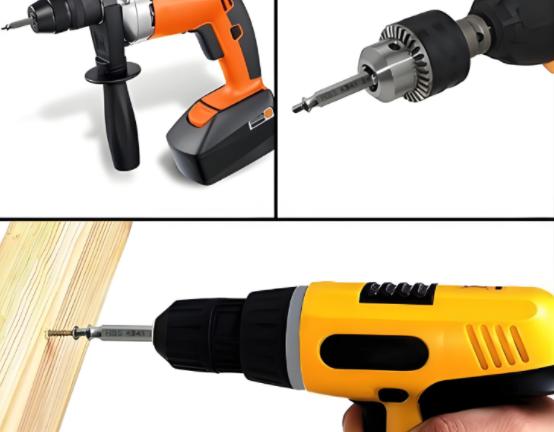
- Small Electric Drill: Useful to drill an opening for a pilot hole employing a screw extraction or to remove the screw that is severely damaged if required.
- Pliers (such as needle-nose pliers): If part of the screw is exposed grasping it by pliers and turning it around may help to remove it.
- Hammers or Impact Drivers:Light tapping or applying force from an impact can help to break the bond of a broken or rusted screw.
- Penetrating Lubricant (such such as the WD-40): Spraying lubricant over the screw and into the threads before installing it will reduce friction and make removal simpler.
Part 3.5 Effective Methods for Removing Stripped Set Screws
Way 1. Use a Rubber Band to Increase Friction
This is among the most simple and secure methods suitable for situations where screws are barely worn or stripped
Steps:
- Choose a regular rubber band, and make sure that it’s long and strong enough to do the job.
- Put the flat rubber band over the screw head, making sure it covers the screw head completely. The bigger the area of contact is, the more friction it will create.
- Use a hex wrench or screwdriver securely over the elastic band, and then apply pressure.
- Slowly move the tool around, applying the torque. The rubber band improves friction, which helps the tool hold the screw more securely.
Operating Tips:
- Be sure that the size of your tool corresponds to the screw slot size in order to prevent further harm.
- While applying the torque be sure that the rotation is steady to stop the elastic band falling off, or the tool from sliding.
Applicable Situation:
This method is best in situations where the slot isn’t very worn, as well as the head of the screw is visible and allows that the rubber bands to create sufficient friction.
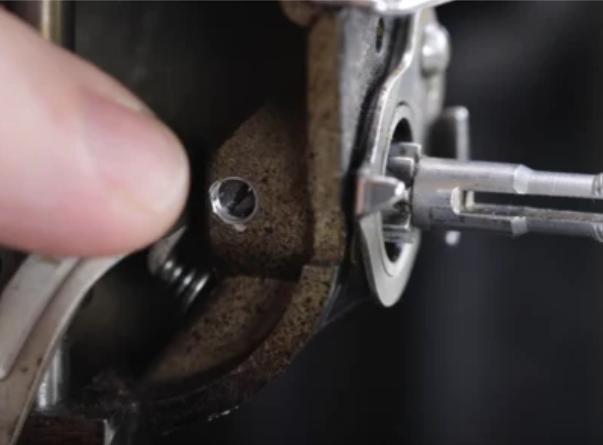
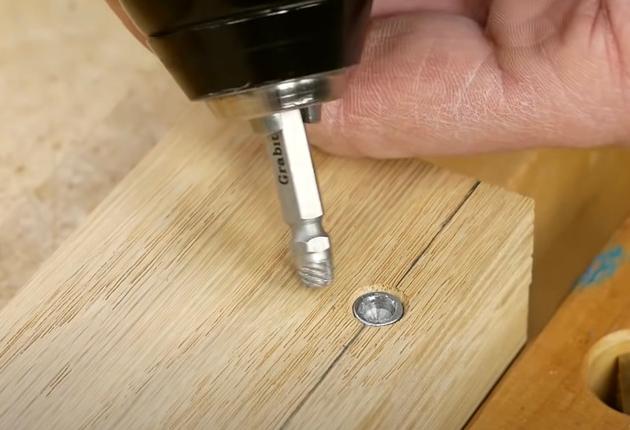
Way 2. Use a Screw Extractor
Screw extractors are high-end tools specifically designed to remove broken, stripped or broken screws. They’re especially efficient for when a screw appears damaged for normal tools to be used:
Steps:
- Drill to create a hole: Begin with a small drill (preferably using a slow speed) to make a tiny hole in the middle of the screw. The diameter should be around 1/3 of the length of the screw and the diameter must be the same as the diameter that the extractor for your screw is.
- Add the extractor: Choose a screw extractor that is sized to fit the hole, then place it inside the hole. Check that the threads of the extractor are strong enough to hold the screw’s interior.
- Make the extractor turn slowly rotate your screw counterclockwise: As the extractor grasps the screw and begins at a slow pace to push the screw away slowly.
- Removing the Screw: When the extractor is firmly grasping the screw, keep rotating till the screw has been completely eliminated.
Important Notes:
- Control the Diameter and Depth of the Drill Hole: The drilling hole which is narrow is not able to permit the extractor to grasp the screw. Likewise, the hole that is too deep can cause damage to the nearby components.
- The diameter of the hole must be in line with the size of the extractor to ensure the gripping is effective.
- Stabilize the tool Make sure the extractor is stable to avoid shifting or sliding.
Applicable Situation :
This technique is ideal for screws that are severely damaged or broken, and cannot be extracted using normal tools. Screw extractors are specially designed to handle these situations.
Way 3. Lightly Tap the Screw Head and Use Pliers to Twist It Out
This method is very effective when your screw’s head appears to be protruding. It will help to loosen the screw that is stuck:
Steps:
- Make use of a small hammer and gently tap the screw’s head gently for a few seconds to release it. Be cautious not to strike too hard, since excessive force can cause damage to the screw or its surrounding components.
- After tapping after tapping, use needle-nose pliers or locking pliers to grasp to the head of the screw with a firm grip. The pliers must be able to cover the entire edge of the screw head completely.
- Slowly and slowly turn the pliers slowly, twisting the screw counterclockwise in order to loosen it. If the screw does not loosen immediately, tap it again with a gentle force.
Operating Tips :
- In the event that a screw’s head has been exposed taping and twisting using pliers can be effective.
- Make sure to use the right size pliers to ensure a secure grasp on the screw head.
Applicable Situation :
This is a great method for screws with an exposed head that is held by pliers and then rotated to loosen.
Way 4. Use an Impact Driver
Impact drivers mix the force of rotation with hammering to release stubborn screws. They are particularly effective for screws that are damaged or have been seated for a long period of time:
Steps:
- Put the head of the impact driver into the screw’s slot, making sure that there is that there is a perfect contact between the screw and the tool.
- Simply tap the rear part of the driver’s impact to apply the force of impact along with the rotation. The force of the impact will loosen the screw and break any debris or rust that is holding it in the position.
- Continue to tap while turning the driver counterclockwise. The screw will loosen gradually because the combination of rotation and impact moves through the corrosion or the grip is tight.
Operating Tips :
- Be aware of the force that is hitting to prevent damage to the screw slot or other components.
- Impact drivers are great for screws that have become rusted or old or worn out over time.
Applicable Situation :
This technique is perfect for screws that have worn out, rusted or have become stuck from the long exposure to environmental factors. The impact driver’s force can help overcome these obstacles.
Way 5. Drill the Screw Directly
If the other options don’t work and the screw is stuck, drilling it off could be the final option. This is an extreme option, but it could represent the best option if the screw is firmly stuck:
Steps:
- Choose a smaller drilling bit smaller than the diameter of the screw and place it on the drill.
- Make use of the drill to cut into the head of the drill. Make sure you are precise in the drilling depth and stop after the head is removed from the drill. Do not drill too deep to avoid harming the screw shaft and adjacent parts.
- After the screw head has been gone, employ pliers or a different tool to get rid of the remaining screw shaft.
Important Notes:
- It is crucial to drill with precision. Beware of drilling too deeply or applying too much force, which can damage the parts around it.
- Make sure to use the correct drill bit size to ensure the proper extraction of your screw, without harming the shaft.
Applicable Situation :
This technique is recommended after all other approaches have failed, particularly for screws that have been stripped or damaged beyond repair. This method should only be employed only as an option last resort.
Part 4. How to Prevent Set Screw Stripped?
To stop screw set screws from sliding it is important to pay attention to certain aspects in your daily activities. Here are some practical ways to greatly reduce the chance of damage or slippage:
1. Use Tools That Match the Screw Specifications
Make sure that the tools you’re making use of are in perfect alignment with those of the screws you are using. For instance, you can you can use a hex wrench to make an hex screw head and a screwdriver with a cross shape to create the cross-shaped slot.
The use of tools that aren’t compatible could cause inadequate contact between the screw and the tool and increase the risk of slippage. Particularly, if the contact area between the screw head and the tool is not enough or too loose and slippage is more likely to occur.
2. Apply Moderate Force When Tightening, Avoid Excessive Torque
When tightening screws, the correct torque is vital. In excess force, it can cause damage to the screw head or threads, leading to slippage, when insufficient force can cause the screw to become loose.
If you are tightening your screws make use of a torque wrench make sure the right quantity of force is used, thus avoiding problems that result from over-tightening, or under-tightening.
3. Regularly Apply Anti-Rust Lubricant, Especially in Outdoor or Humid Environments
Exposure to long-term water or other corrosive conditions can make screws rust and cause which increases the possibility of loosing them or falling off. To stop this from happening the best way to prevent this is to apply anti-rust oil regularly (such like the WD-40) on screws. When you use screws outdoors, make sure to be on the lookout for indications of corrosion and then perform regular maintenance when required.
4. Keep Screw Slots Clean and Free of Debris During Assembly
While installing screws make sure that the slots of the screws are clear of obstructions or debris. If there’s dust or grease, as well as other contaminants in the slots, it could hinder the proper contact between the screw and the tool and cause slippage, or difficulties tightening the screw.
Clean the screw slots regularly particularly in the case of frequent assembly and disassembly to avoid this problem.
5. Develop Good Operating Habits
Implementing good operating habits can greatly reduce the likelihood of slippage in screws. As an example, try not to apply excessive force laterally when you are removing or putting screws in. Avoid using the tools that are damaged or those which have been too damaged.
In addition, you must follow the correct procedure and sequence when assembling, and avoid handling several screws at the same time, that could cause an unbalanced force on one screw.
Wrap Up
The prospect of encountering a set screw that is stripped isn’t as frightening as it may seem. With the right methods you can quickly and easily take it off. If you are using a basic elastic band, or even a screw extractor that is professional you can pick the best method for the circumstance.
If you are frequently disassembling equipment or machinery is recommended to make the right tools for professional use to handle the stripped screw issue with ease!