How to Install Cage Nuts: A Comprehensive Step-by-step Guide
Cage nuts are crucial components in many different industries, particularly in manufacturing, installing server racks, and building. They offer a safe and dependable way to attach equipment to common square-holed racks and enclosures, such as server rails, shelves, and panels. Although installing cage nuts might initially look difficult, it is a simple procedure once you know what to do. In this article, we focus on the topic of how to install cage nuts, providing you with a comprehensive step-by-step guide and the precautions during the installation process of cage nuts.
Tools and Materials You’ll Need
Before you begin, gather the necessary tools and materials:
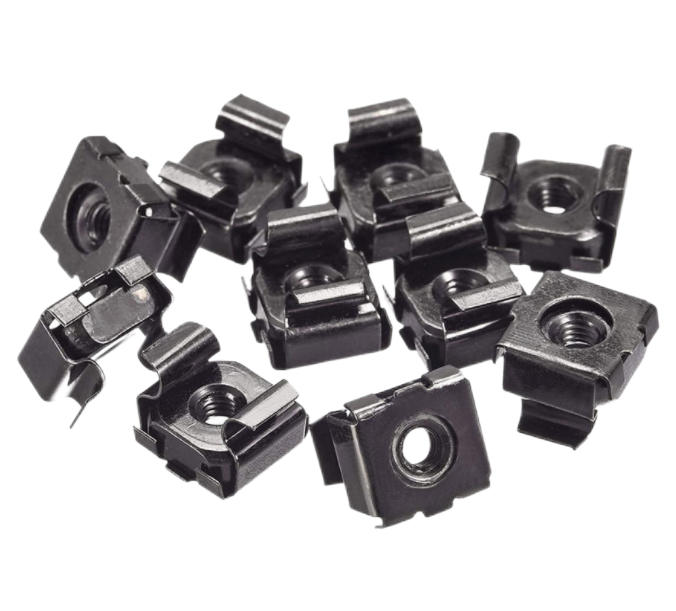
- Cage nuts: Ensure you have the correct size and type for your application. Common sizes include M6 and 10-32.
- Rack or enclosure: The structure to which you’ll be mounting equipment.
- Mounting hardware: Such as screws and washers, compatible with your cage nuts.
- Rack rails or brackets: Depending on what you are installing, rails or brackets may be required.
- Screwdriver or socket wrench: the mounting hardware must be tightened
A Step-by-Step Guide to Installing Cage Nuts
Step 1: Identify the Correct Position
Choose the location in the rack where you wish to install your equipment or accessories. Ensure that they line up with the mounting holes on the rack. If necessary, take measurements and mark the locations.
Step 2: Prepare the Cage Nuts
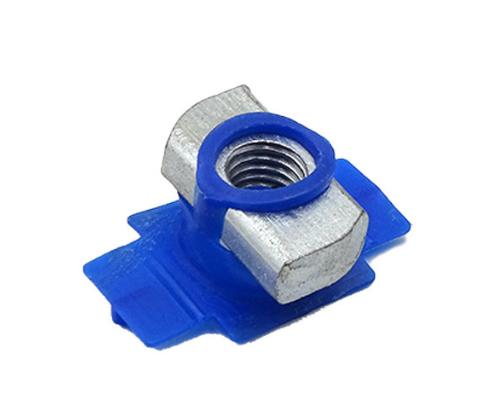
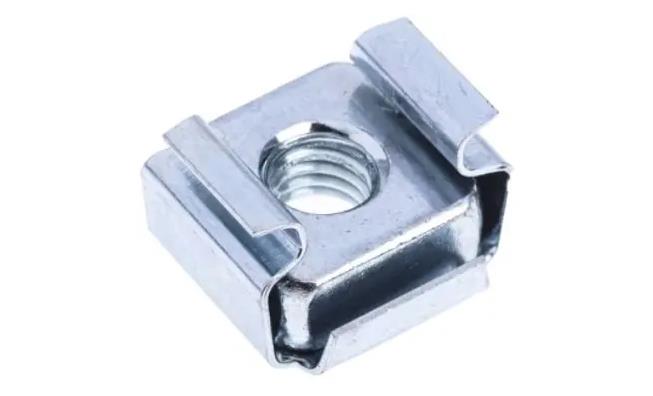
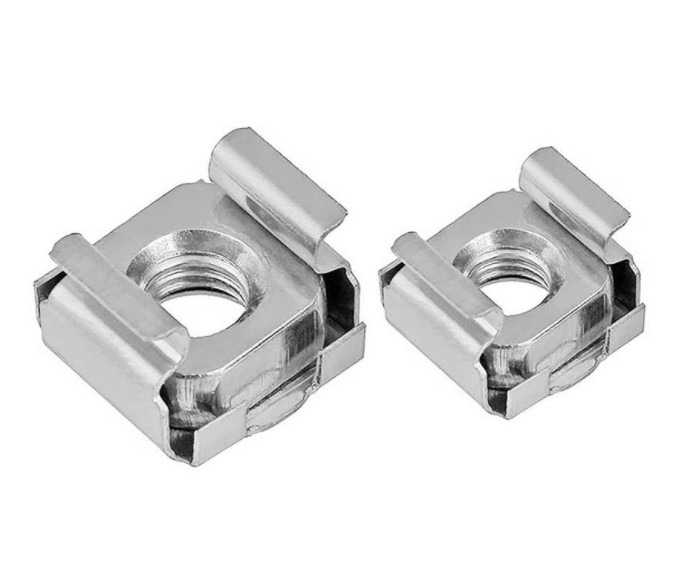
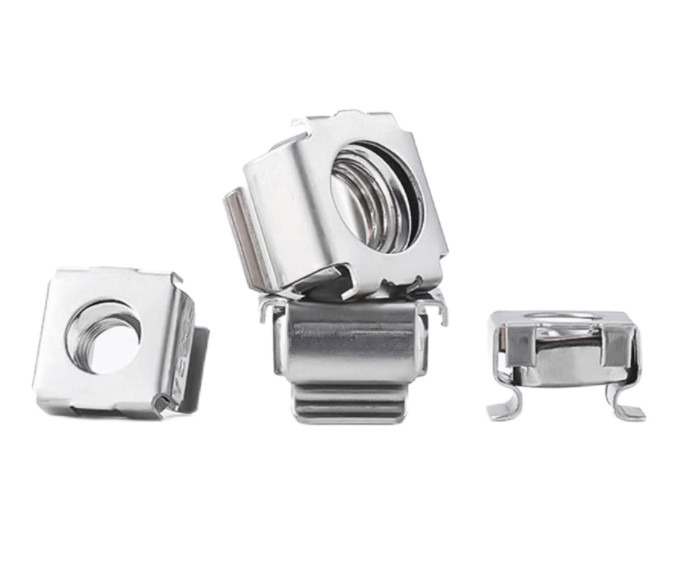
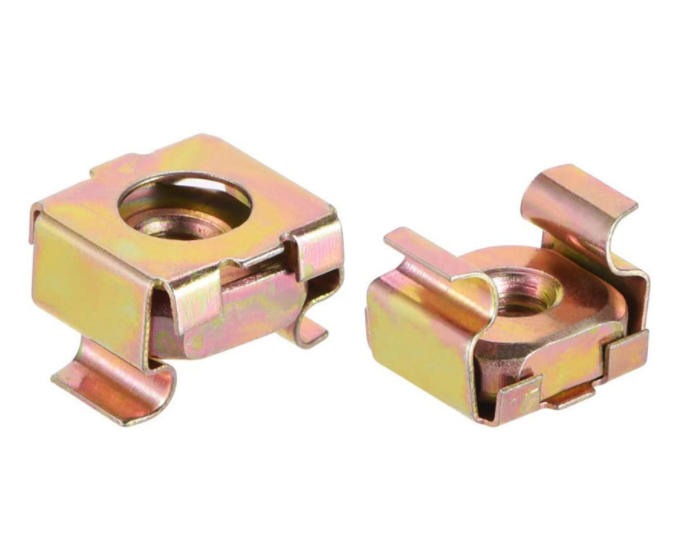
Check your cage nuts to make sure they are clean and damage-free. Flanges and “cages” are present on opposite sides of cage nuts. The square holes of the rack are inserted with the flanged side.
Step 3: Insert the Cage Nut
The cage nut should be held with the flanged side toward the rack. Match the rack’s square holes and the tabs on the cage nut. Insert the cage nut into the hole while applying moderate pressure. When the tabs press against the hole, you can hear a very faint click.
Step 4: Secure the Cage Nut
Use a screwdriver or socket wrench to further tighten the cage nut after it has been inserted. Make sure it is firmly pressed up against the rack. Avoid overtightening to avoid stripping the threads or breaking the cage nut.
Step 5: Repeat as Necessary
Repeat the process for each cage nut required for your installation. Depending on your equipment, you may need to install several cage nuts at different positions within the rack.
Step 6: Install Your Equipment
You can now attach your equipment, such as rails, shelves, or panels, using the proper mounting hardware once you have firmly fastened the cage nuts. Thread screws into the cage nuts after inserting them through the mounting holes in the apparatus.
Step 7: Tighten the Mounting Hardware
Tighten the mounting hardware with your socket wrench or screwdriver until your equipment is firmly fastened to the rack. Make sure it is level and positioned correctly.
What should be Paid Attention to during the Process of Installing Cage Nuts?
Cage nut installation is a fairly straightforward procedure, but accuracy is essential to guarantee a safe and trouble-free installation.
Safety First
Make sure the rack or enclosure is stable and will not topple over during installation before you get started.
To guard against potential risks and sharp edges, put on the proper personal protective equipment, such as gloves and safety glasses.
Select the Correct Cage Nuts
Choose cage nuts that are compatible with your rack’s hole size and thread type. Using the wrong size can lead to improper fits and instability.
Apply Even Pressure
When inserting the cage nuts, apply even pressure to avoid bending or distorting them. The cage nut’s tabs should engage the rack’s holes smoothly.
Use the Right Tools
Use a screwdriver or socket wrench that matches the size of the cage nuts for proper tightening. Avoid using excessive force, as it can strip the threads or damage the cage nuts.
Moderation in Tightening
Tighten the cage nuts securely but avoid over-tightening, as this can lead to thread damage or distortion. A snug fit is sufficient to provide stability.
Consistent Spacing
If you are putting several cage nuts in a row, keep the distance between them constant. By doing this, you can be confident that your accessories or equipment will attach appropriately.
Level Installation
Make sure the cage nuts are mounted in the rack at the proper height and level. This will assist in ensuring that the equipment you will be mounting is properly aligned.
Double-Check Alignment
Double check that all mounting locations are accessible and that the cage nuts are properly aligned before mounting any equipment.
Documentation
Keep track of the locations and numbers of cage nuts that have been fitted. When adding to or changing your rack in the future, this documentation can be helpful.
Regular Maintenance
Check the fitted cage nuts and machinery on a regular basis for any symptoms of corrosion or deterioration. Make any modifications or replacements that are required as needed.
You may provide a safe and solid mounting solution for your equipment by paying close attention to these elements during the cage nut installation procedure, lowering the likelihood of problems or accidents in the future.
Conclusion
Cage nut installation may initially seem difficult, but with the correct equipment, supplies, and a methodical approach, it becomes a simple procedure. Cage nuts that have been fitted correctly give your equipment a safe foundation, guaranteeing stability and dependability in a variety of applications, from server rooms to industrial settings.