How to Replace Wheel Studs for Maintaining the Vehicle’s Safety
In the complex machinery that is an automobile, there are countless components working together to ensure a smooth and safe ride. One such vital element is the wheel stud, a small yet essential part of the wheel assembly that holds everything together. Over time, wheel studs can wear out or become damaged, necessitating replacement to maintain the vehicle’s safety and performance.
Understanding Wheel Studs and Wheel Bolts
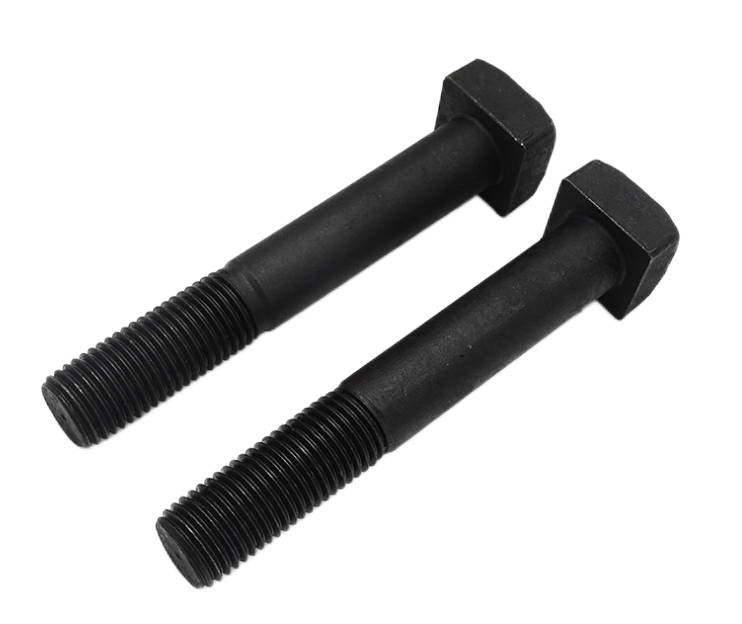
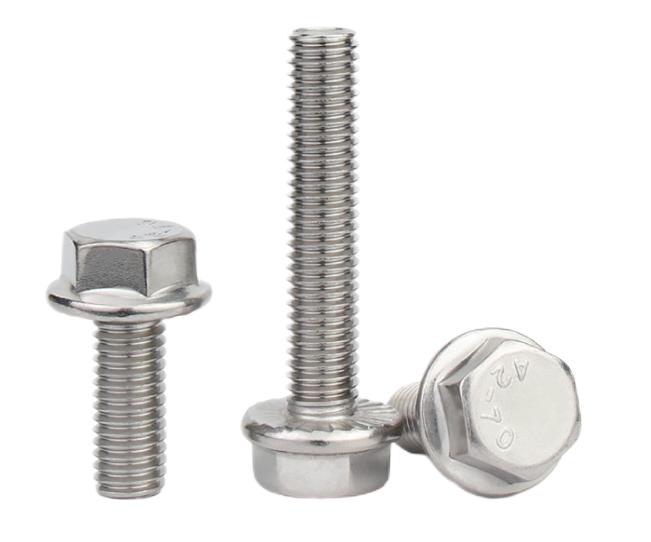
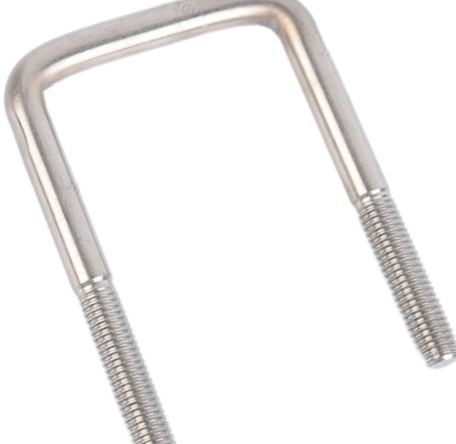
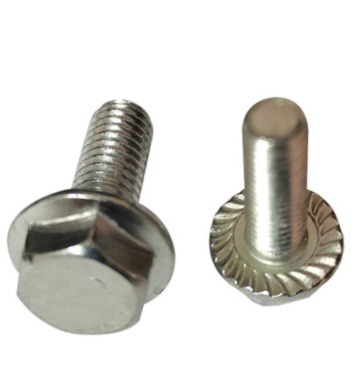
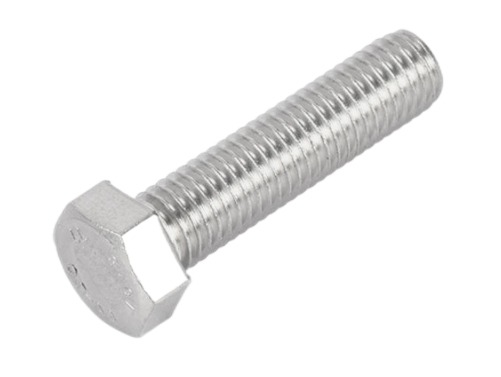
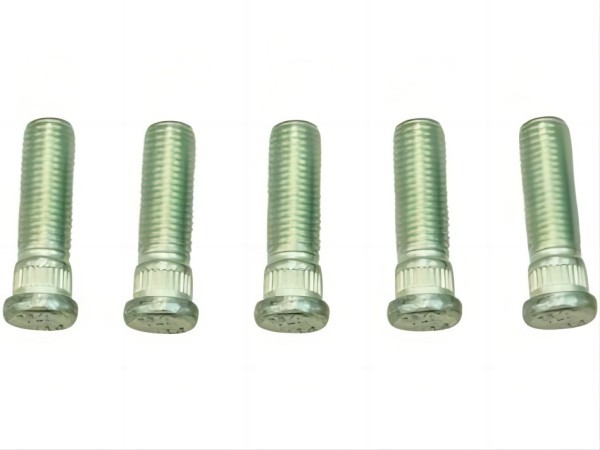
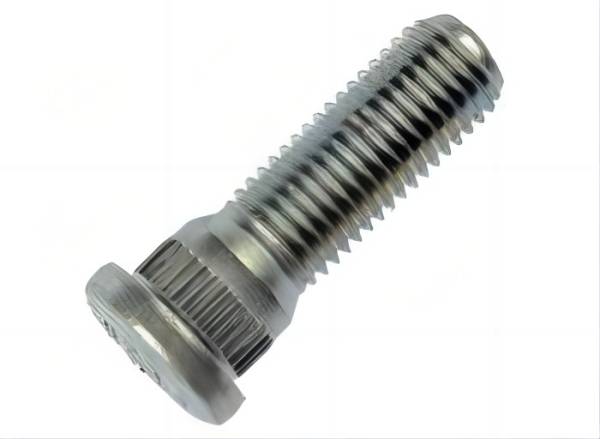
Before delving into the process of replacing wheel studs, it’s crucial to understand what they are and how they differ from wheel bolts. Wheel studs are sturdy metal rods that protrude from the wheel hub and provide a stable mounting point for the wheel. In contrast, wheel bolts are threaded fasteners that screw into the wheel hub and secure the wheel in place. While both serve the same purpose of keeping the wheel attached to the vehicle, they are designed differently and require separate replacement methods.
Signs of Damaged or Worn Wheel Studs
As with any automotive component, wheel studs can experience wear and tear over time, leading to potential issues. Some common signs of damaged or worn wheel studs include unusual vibrations while driving, loose wheels, or difficulty in tightening lug nuts. If left unaddressed, these problems can escalate, posing a serious safety hazard on the road.
Preparing for Wheel Stud Replacement
Replacing a worn-out wheel stud is a task that requires the right tools and equipment. Before beginning the process, gather the necessary tools, such as lug wrenches, a jack stand, and a hammer. Additionally, make sure the vehicle is parked on a flat surface and engage the emergency brake for added stability. Safety is paramount during this task, so always double-check that the vehicle is securely lifted and supported before commencing the replacement process.
Step-by-Step Wheel Stud Replacement Process
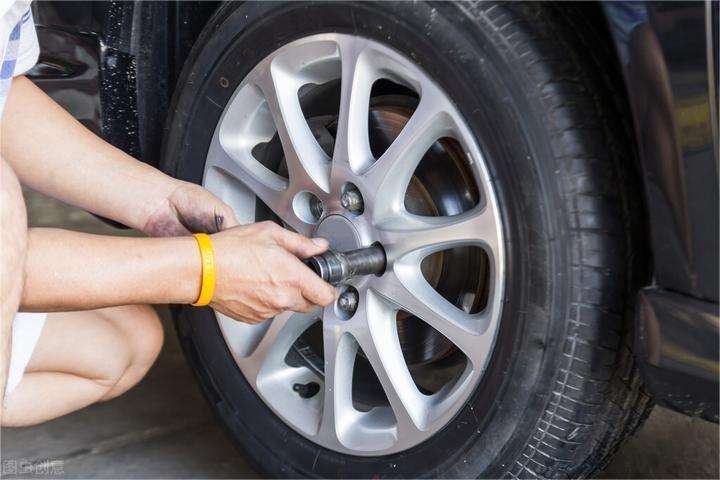
- Removing the Wheel: Loosen the lug nuts of the affected wheel using a lug wrench before raising the vehicle with a jack stand. Once lifted, remove the lug nuts and take off the wheel.
- Inspecting the Wheel Studs: Examine the wheel studs thoroughly for any signs of damage or wear. If any studs appear corroded, bent, or have stripped threads, they should be replaced.
- Loosening and Removing the Damaged Wheel Stud: Position the wheel on a solid surface with the damaged wheel stud facing up. Use a hammer to knock the stud out of the wheel hub gently. If the stud doesn’t budge, applying penetrating oil to the area may help loosen it.
- Cleaning the Mounting Surface: After removing the damaged wheel stud, clean the mounting surface to ensure a smooth installation of the new stud. Wipe away any dirt, debris, or rust that may have accumulated.
- Installing the New Wheel Stud: Align the new wheel stud with the mounting hole and gently tap it into place using a hammer. Make sure the stud is straight and fully seated in the hub.
- Tightening the New Wheel Stud: Place a few washers over the threaded end of the new wheel stud to protect the threads, then hand-tighten a lug nut onto the stud. Use a torque wrench to tighten the lug nut to the manufacturer’s recommended torque specification.
- Replacing the Wheel: Place the wheel back onto the wheel hub and hand-tighten the lug nuts. Lower the vehicle to the ground and then use a torque wrench to properly tighten the lug nuts in a star pattern.
Safety Measures and Best Practices for Wheel Stud Replacement Process
During the wheel stud replacement process, it is essential to exercise caution and follow best practices to ensure safety:
- Always use the correct tools for the job and follow the manufacturer’s instructions.
- Double-check the torque specifications to prevent over- or under-tightening the lug nuts.
- Perform a test drive after the replacement to ensure everything is functioning correctly.
- Regularly inspect and maintain wheel studs and the entire wheel assembly to prevent future issues.
Tips for Preventing Wheel Stud Issues
To prolong the lifespan of your wheel studs and prevent potential problems, consider the following tips:
- Schedule regular maintenance and inspection of wheel studs and the wheel assembly.
- Always torque the lug nuts to the recommended specifications.
- Avoid using excessive force or impact on the wheel studs, as this can lead to damage.
Conclusion
Wheel studs may be small, but their role in vehicle safety cannot be underestimated. Responsible vehicle ownership involves regular maintenance and prompt replacement of damaged or worn wheel studs. By understanding the significance of these components and adhering to best practices, we can ensure a smoother and safer ride for ourselves and others on the road. Remember, a well-maintained vehicle is a key factor in reducing accidents and ensuring everyone’s well-being on our journeys.