How to Use Rivets without A Gun?
Rivets are versatile fasteners that may be used in a variety of DIY and construction tasks, ranging from metalworking to leathercraft. While many people use rivet guns for this, you can use rivets without a gun by using alternative ways and tools. In this article, we focus on the topic of how to use rivets without a gun, exploring the techniques and tools you can apply for using rivets without a specialized gun, making your projects more accessible and cost-effective.
Understanding Rivets
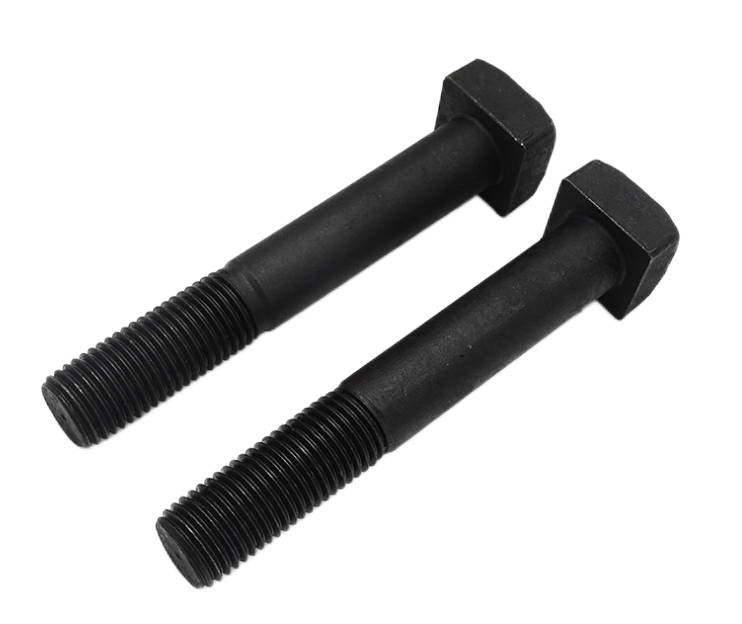
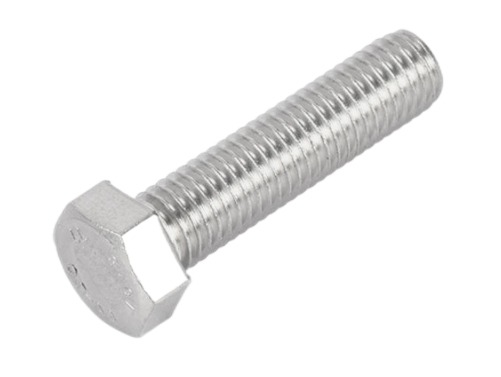
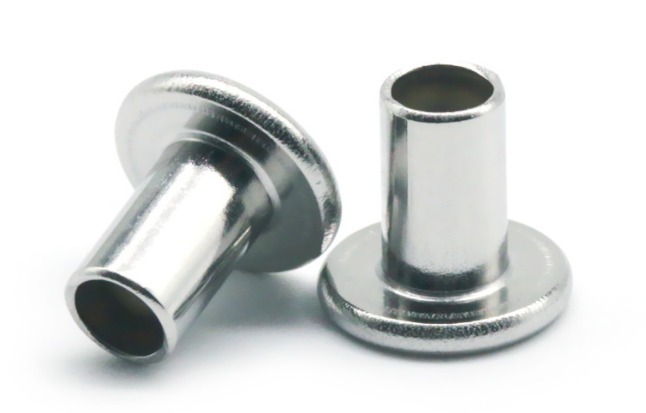
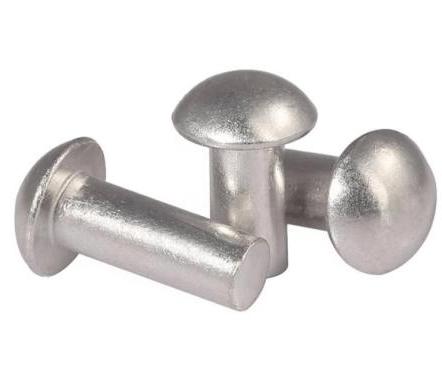
Rivets are made up of a cylindrical shaft with a head at one end and a tail at the other. Rivets are frequently employed in areas where screws, nails, or adhesives are ineffective, such as heavy-duty or load-bearing applications.
| Aspect | Description |
| Definition | Applied Industries |
| Types | Mechanical fasteners are used to join materials by passing through pre-drilled holes and deforming to secure the components together. |
| Materials | Commonly made from aluminum, steel, stainless steel, and copper, selected based on strength, corrosion resistance, and application requirements. |
| Advantages | Applied Industries |
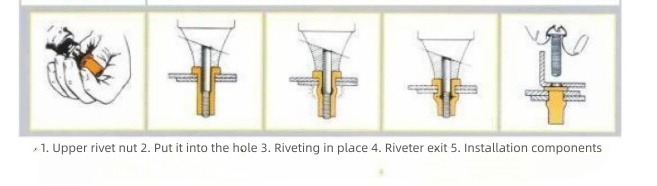
| Installation Process | 1.Pre-drill holes in the materials to be joined. 2. Insert the rivet into the hole. 3. Apply force to deform the rivet, securing the components together. |
| Applied Industies | Aerospace: Structural assembly of aircraft components. Automotive: Chassis construction and body panel assembly. Construction: Steel frame and truss connections. |
| Considerations | Hole size and placement must be precise. Overdriving can weaken the joint. Rivet selection depends on material compatibility and load requirements. |
Tools and Techniques for Using Rivets Without a Gun
Tools and Materials Needed
| Item | Description |
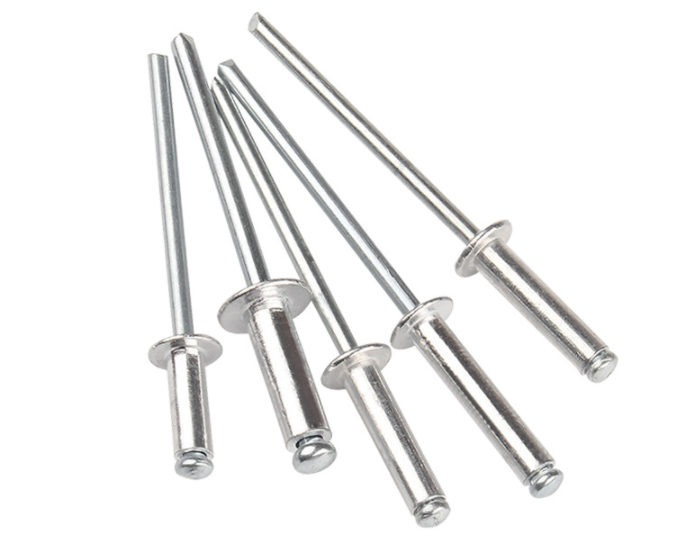
| 1. Rivets | Solid cylindrical fasteners made of metal (e.g., aluminum, steel) with a head on one end and a shaft that is inserted through pre-drilled holes in materials to be joined. |
| 2. Rivet Setter | Tool used to set the rivet by deforming its tail end, typically consisting of a concave head and a cylindrical shaft. |
| 3. Hammer | Heavy-duty tool used to strike the rivet setter, applying force to deform the rivet and secure the joint. |
| 4. Drill | Power tool equipped with a rotating cutting bit used to create holes in materials for inserting rivets. |
| 5. Drill Bits | Cutting tools are used with the drill to create holes of appropriate diameter for accommodating rivets. |
| 6. Workbench or Anvil | Cutting tools are used with the drill to create holes of appropriate diameter for accommodating rivets. |
| 7. Center Punch | Tool used to create an indentation or mark on the material’s surface to guide the drill bit during hole drilling. |
| 8. Safety Equipment | – Personal protective equipment (PPE) such as safety glasses and gloves to protect against eye injuries, flying debris, and hand injuries during riveting operations. |
1. Using a Hard Surface and Hammer
- Insert one end of the rivet into the material’s hole, making sure the rivet is flat with the surface.
- Place the joined materials with the protruding rivet on top of a hard, flat surface or anvil.
- Steady the rivet with your fingers or pliers, if needed.
- Strike the exposed end of the rivet (the tail) firmly and squarely with a hammer or mallet. Apply controlled force to deform the tail and secure the materials together.
- Inspect the rivet to ensure it is securely fastened, with the tail flattened and gripping both materials.
2. Using a Hollow Punch and Hammer
- Use a clean, round hole in the materials where you wish to place the rivet with a hollow punch.
- Insert one end of the rivet into the hole, ensuring it is flush with the surface.
- Place one end of the rivet into the hole, flush with the surface.
- If necessary, use your fingers or pliers to keep the rivet steady.
- With a hammer or mallet, strike the exposed end of the rivet (the tail). Deform the tail with controlled force and hold the materials together.
- Check the rivet for a secure connection.
3. Using Pliers
- Insert one end of the rivet into the material’s hole, making sure it is flat with the surface.
- Hold the rivet steady with pliers if necessary.
- Place the joined materials on a hard, flat surface or anvil.
- Strike the exposed end of the rivet (the tail) with a hammer or mallet while the pliers keep the rivet in place.
Inspect the rivet to ensure it is securely fastened.
4. Using a Ball-Peen Hammer
- Insert one end of the rivet into the material’s hole, making sure it is flat with the surface.
- Place the assembled elements on a hard, flat surface, such as an anvil.
- If necessary, use your fingers or pliers to keep the rivet steady.
- Strike the exposed end of the rivet (the tail) with a ball-peen hammer. Deform the tail with controlled force and hold the materials together.
- Inspect the rivet to check that it is securely secured.
5. Heating and Peening
For some specialized applications, you can heat the rivet and then set it with a ball-peen hammer. This is a more common method in blacksmithing and metalworking.
- Using a propane torch or forge, heat the rivet to a bright red color.
- Insert the hot rivet into the materials.
- Use a ball-peen hammer to deform the tail while it’s still hot, creating a tight connection as it cools.
Conclusion
Using rivets without a gun is not only cost-effective but also a good option for DIY enthusiasts and experts who do not have access to specialist gear. You may securely connect items in a variety of applications, from leatherwork and metalworking to woodworking and beyond, by mastering these techniques and selecting the necessary tools. Using a hand-held rivet setter, ball-peen hammer, hollow punch, or other ways, you can produce strong and solid connections with rivets, improving the quality and durability of your products.