Tightening Nuts: How to do Properly and What are Safety Tips
Tightening nuts is a basic skill in a variety of disciplines, including car repair, construction, and do-it-yourself (DIY) projects. Knowing how to tighten nuts correctly is vital for ensuring safety and reliability while securing a wheel on your car, putting components together, or constructing furniture. In this article, we’ll focus on the topic of how to tighten nuts properly, providing a comprehensive step-by-step guide to tightening nuts for various applications and useful safety tips during the process of tightening nuts.
What is A Step-by-step Guide to Tightening Nuts?
Tools and Materials You’ll Need:
Appropriate Wrench or Socket: Choose a wrench or socket that is the correct size for the nut’s measurements. Using the wrong size can cause harm to the nut or the tool.
Torque Wrench: Torque wrenches are specialized tools that are used when accurate torque settings are required. It is extensively utilized in mechanical and automotive applications.
Thread Lubricant: Thread lubricant can minimize friction and enhance torque reading accuracy in certain situations.
Safety Equipment: Safety equipment such as gloves and safety glasses may be required depending on the project.
Step 1: Positioning
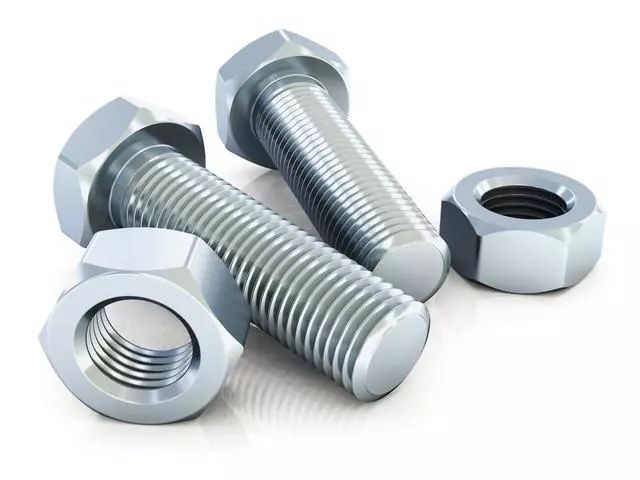
Before tightening a nut, be sure the components you’re connecting are properly aligned. The nut should thread effortlessly onto the bolt or stud. If you face resistance at this point, pause and look into the problem. Cross-threading can harm both the nut and the bolt thread, so don’t force it.
Step 2: Hand Tightening
Begin by tightening the nut on the bolt or stud by hand. Turn the nut clockwise (right-hand) to tighten. This provides appropriate thread engagement and lowers the possibility of stripping or cross-threading.
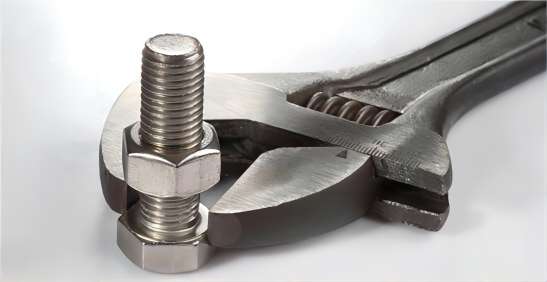
Step 3: Use a Wrench
Once the nut is hand-tight, tighten it further with a suitable wrench or socket. Tighten the nut even more by turning the wrench clockwise. The amount of torque you apply is determined by the application.
Step 4: Torque Specifications
It is crucial to follow specified torque specifications in critical applications such as automotive or industrial settings. Overtightening can cause component damage or fasteners to fail, whilst under-tightening might cause loosening over time. A torque wrench is used in these situations to get precise torque values.
Step 5: Gradual Tightening
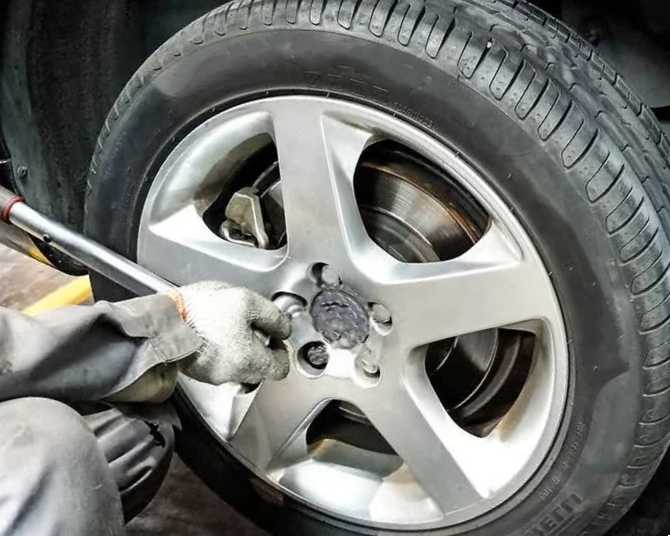
If you are tightening multiple nuts or bolts in a row, such as when attaching a wheel to an automobile, tighten them gradually in a cross or star pattern. This ensures even pressure distribution and prevents warping or damage to the components. Start with one nut, then tighten the one opposite it, and continue in a star pattern until all are fully secured.
Step 6: Recheck
After tightening the nuts, it’s a good practice to recheck them to ensure they remain secure. Vibrations and temperature changes can cause fasteners to loosen over time. Periodic checks can prevent potential issues.
What are Safety Tips in the Process of Tighten Nuts?
Wear Appropriate Safety Gear
Depending on the project, wear personal protective equipment such as safety glasses, gloves, and, if necessary, hearing protection. This equipment can protect you from debris, sharp edges, and potential hazards.
Inspect Tools and Equipment
Before you start, make sure your wrenches, sockets, and other tools are in good working order. Tools that are damaged or worn might be dangerous and ineffective.
Position Yourself Safely
Maintain a solid position and good balance. Check your footing, especially if you’re working on elevated surfaces or in uncomfortable positions.
Avoid Over-Tightening
Overtightening can result in component, fastener, or equipment damage. When available, use recommended torque parameters, especially in essential applications. Set the torque wrench to the provided torque value if using one.
Cross or Star Pattern
Use a cross or star pattern for tightening multiple nuts or bolts in a row, such as when securing a wheel on a vehicle. This ensures even pressure distribution and prevents warping or damage to components.
Check for Thread Lubrication
In some applications, using thread lubricant can reduce friction and improve the accuracy of torque readings. Check the manufacturer’s recommendations for the specific lubricant and use it as needed.
Secure the Workpiece
If possible, secure the workpiece to prevent movement or rotation during the tightening process. This can make the task easier and safer.
Use Mechanical Assistance
For particularly challenging or high-torque applications, consider using mechanical assistance such as a breaker bar or a hydraulic torque wrench. These tools can help you achieve the necessary force without straining yourself.
Emergency Response
Be prepared for unexpected situations. Have a plan in place for dealing with stripped threads, broken fasteners, or other complications. This may involve having spare nuts, bolts, or tools on hand.
Train and Educate
If you’re working with a group or managing others, be sure everyone knows how to tighten nuts properly and follows safety requirements.
By following these safety tips, you can minimize the risks associated with tightening nuts by following these safety suggestions, which will help guarantee that your tasks are finished safely and successfully.
Conclusion
Tightening nuts is a simple yet important technique that is used in a variety of situations. Understanding the appropriate ways to secure nuts is critical for the safety and functionality of your projects, whether you’re a seasoned mechanic or a DIY enthusiast. You can ensure that your nuts are tightened accurately and reliably by following the methods given in this tutorial and adopting safety precautions.