How to Install and Uninstall Hollow Rivets Safely
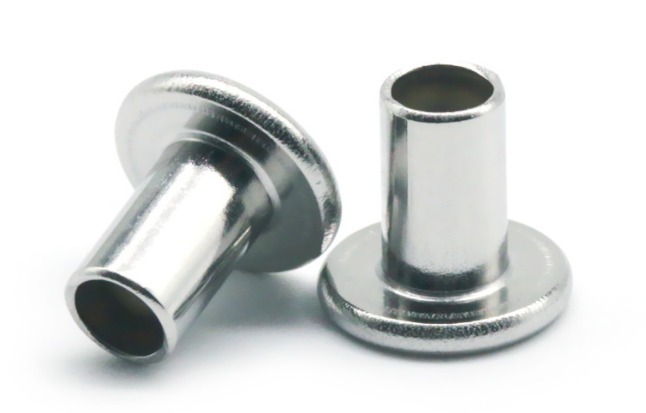
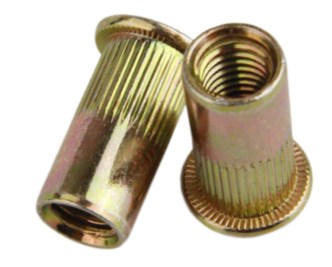
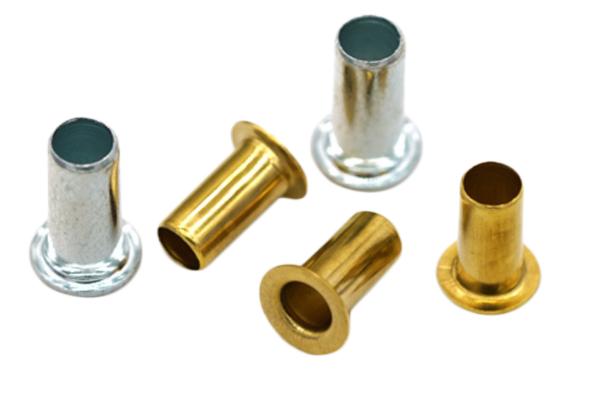
Rivets are a crucial component in various industries, providing structural integrity and ensuring the stability of assembled materials. Among the diverse types of rivets available, hollow rivets stand out for their lightweight yet sturdy nature. A hollow rivet, also known as a tubular rivet, is designed to join two materials together securely. It consists of a cylindrical body with a hollow interior, allowing it to be compressed and expanded when force is applied during installation. Hollow rivets are often used when a low weight-to-strength ratio is required, making them ideal for applications in aerospace, automotive, electronics, and various other industries. In this article, we will delve into the world of installation, removal, and the precautions necessary to ensure successful installation and uninstallation of hollow rivets.
Detailed Step-by-step Guides for Installing and Uninstalling Hollow Rivets
Steps of installing hollow rivets effectively
Installing hollow rivets requires precision and the right tools. Here is a step-by-step guide on how to install hollow rivets effectively:
- Prepare the materials. You will need a rivet gun, a rivet, and a drill. The drill bit should be slightly smaller than the diameter of the rivet.
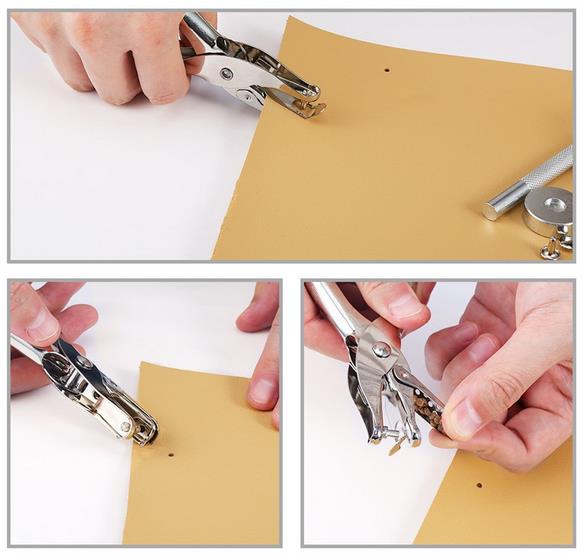
- Drill the holes. Drill two holes in the material that you want to join. The holes should be slightly smaller than the diameter of the rivet. The distance between the holes should be the same as the length of the rivet.
- Insert the rivet. Insert the rivet into one of the holes so that the open end is on the side that will be hidden.
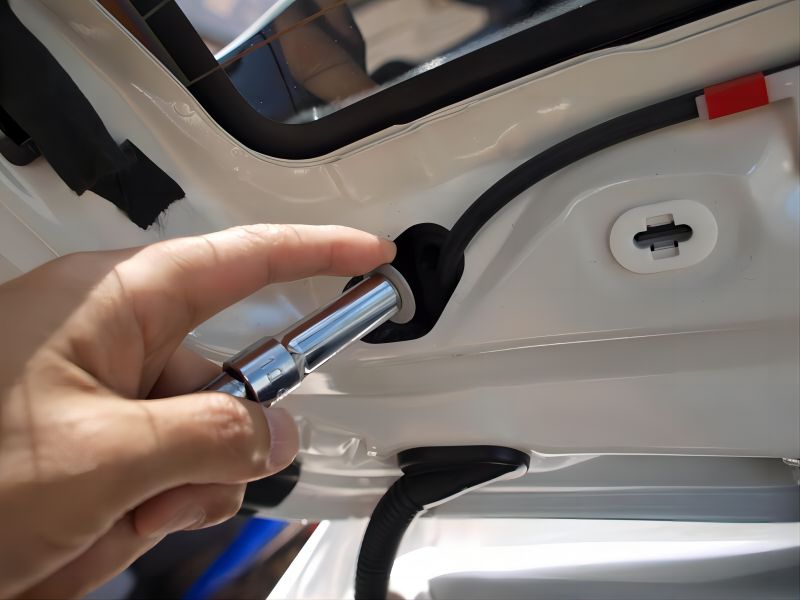
- Place the rivet gun over the rivet. Make sure that the collet on the rivet gun is properly aligned with the rivet.
- Squeeze the trigger. This will expand the rivet and lock it in place.
Steps of uninstalling hollow rivets properly
While hollow rivets are designed for permanent installations, there are occasions when they need to be removed. Here’s a guide on how to properly uninstall hollow rivets:
- Prepare the materials. You will need a rivet removal tool and a drill. The drill bit should be slightly larger than the diameter of the rivet.
- Place the rivet removal tool over the rivet. Make sure that the blade on the rivet removal tool is properly aligned with the rivet.
- Squeeze the trigger. This will cut through the rivet and allow you to remove it.
- Be careful not to damage the material that the rivet was holding together.
Precautions When Installing and Uninstalling Hollow Rivets
Both the installation and removal of hollow rivets require attention to detail and safety considerations. Here are some precautions to keep in mind:
- Use the correct size rivet for the job. If the rivet is too small, it will not be strong enough to hold the materials together. If the rivet is too large, it will not fit in the hole and it will be difficult to install.
- Make sure that the holes are drilled straight. If the holes are crooked, the rivet will not be able to expand properly and it will not be strong.
- Use a rivet gun that is in good condition. If the rivet gun is not working properly, it could damage the rivet or the material that it is holding together.
- Be careful not to over-expand the rivet. If the rivet is over-expanded, it could break.
- Wear safety glasses when installing or uninstalling hollow rivets. The rivet gun could malfunction and the rivet could fly out.
Summary
Hollow rivets are a versatile and lightweight type of rivet that is used in a variety of applications. They are easy to install and uninstall, and they can be used in tight spaces. However, it is important to take precautions when installing and uninstalling hollow rivets, in order to prevent damage to the rivet or the material that it is holding together.