How to Install Carriage Bolts Effectively?
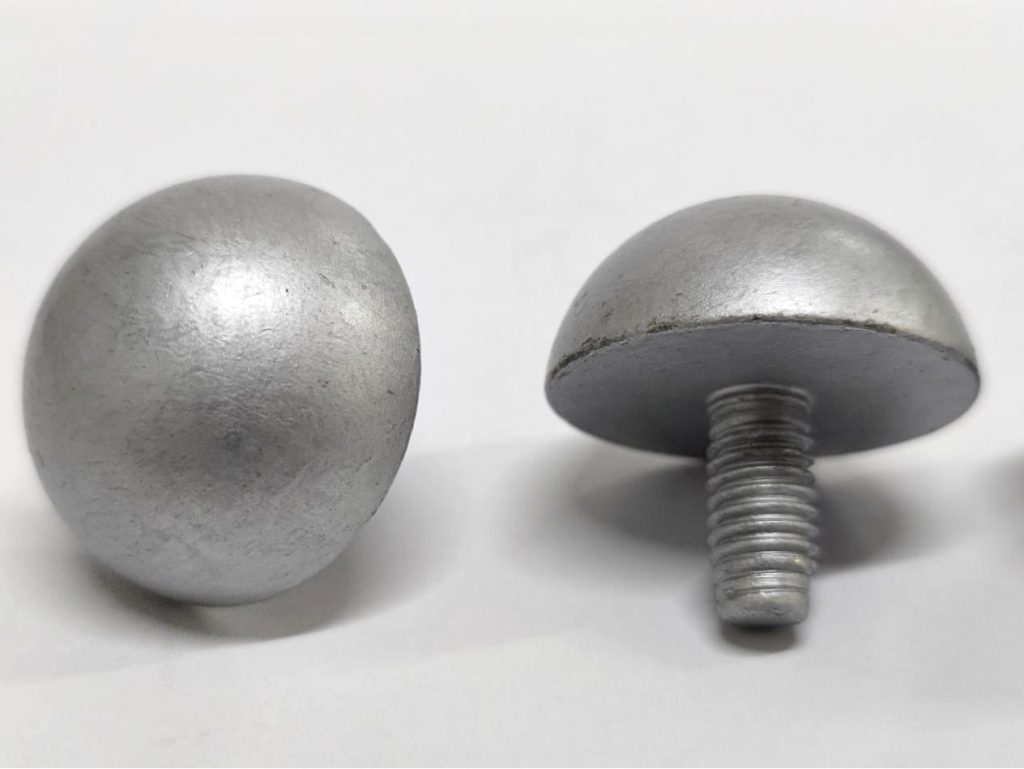
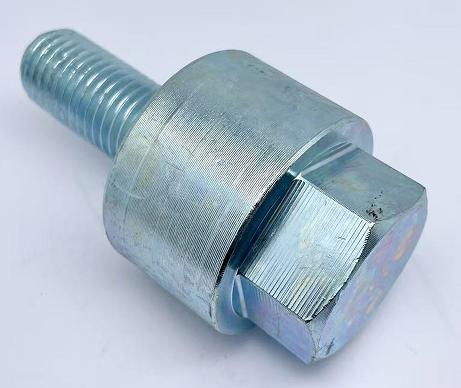
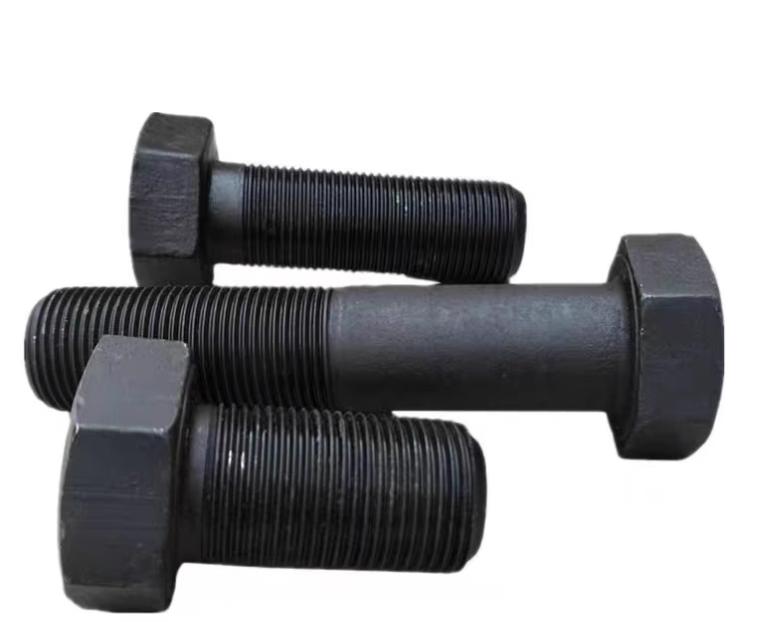
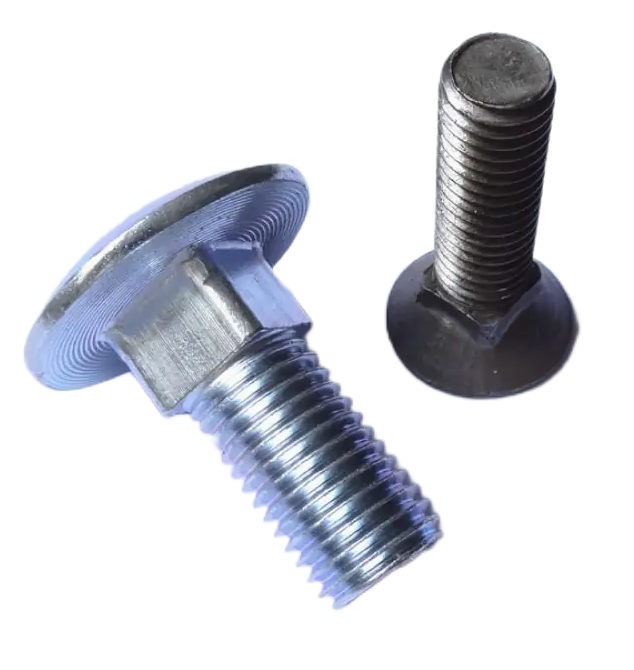
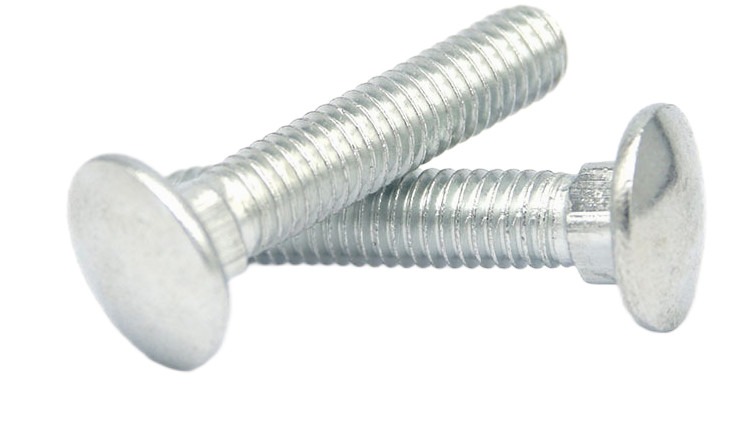
Carriage bolts, also known as coach bolts or round-head square-neck bolts, are commonly used in woodworking, building, and a variety of do-it-yourself tasks. These specialized fasteners are intended to offer a secure and robust connection between two or more wooden components. Their one-of-a-kind design features a spherical head with a square shoulder beneath it, which prevents the bolt from spinning when tightened. If you’re looking to enhance the strength and reliability of your projects, learning how to install carriage bolts effectively is essential. In this article, we’ll take you through the process of installing carriage bolts correctly and the precautions during the installation.
Materials Needed
- Carriage bolts (size and length sufficient for your project)
- Drill
- Drill bit (slightly smaller than the diameter of the bolt)
- Set of wrenches or sockets
- Hammer
- Marker or pencil
- Ruler or measuring tape
- Gloves and safety goggles
What are the Detailed Steps for Installing Carriage Bolts
Step 1: Mark the Hole Placement
Before you begin, decide where you want the carriage bolts to go on the wooden components. Make precise marks with a pencil or marker. For a professional look, make sure the bolts are uniformly spaced and placed.
Step 2: Choose the Right Drill Bit
Choose a drill bit with a diameter slightly smaller than the carriage bolt shaft. The hole should be just large enough for the bolt to pass through with minimal resistance. Using the correct drill bit size promotes a snug fit and keeps the bolt from getting loose over time.
Step 3: Drill the Pilot Holes
Drill pilot holes at the designated locations with care. To generate straight holes, make sure the drill is perpendicular to the wood surface. The depth of the pilot holes should be equal to the length of the threaded portion of the carriage bolt.
Step 4: Insert the Carriage Bolt
Insert the carriage bolt, rounded head facing out, into the drilled hole. The bolt’s square shoulder should be tight against the wood surface.
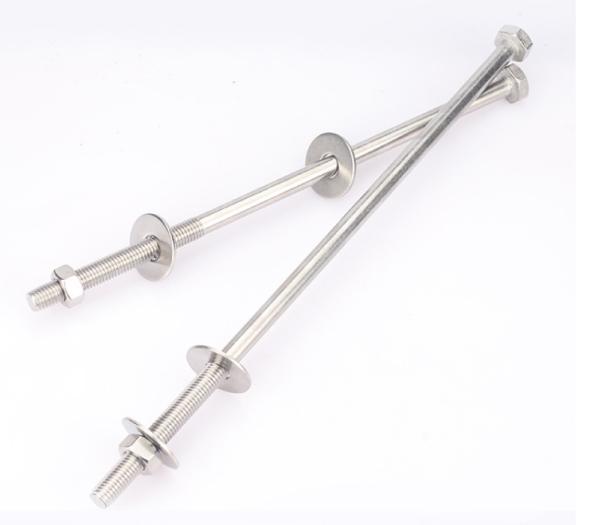
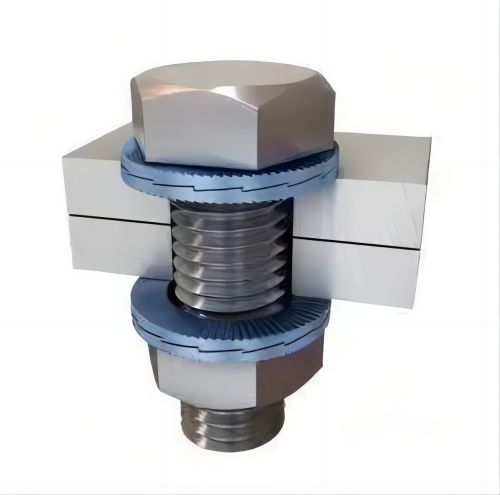
Step 5: Add the Washer and Nut
Place a washer over the carriage bolt’s threaded end. When tightened, the washer distributes the load and keeps the bolt from gouging into the wood. After that, thread the nut onto the bolt’s end.
Step 6: Tighten the Bolt
Tighten the nut on the carriage bolt’s threaded end with a wrench or socket set. The square shoulder of the bolt will dig into the wood as you tighten the nut, stopping the bolt from spinning and establishing a firm connection.
Step 7: Set the Bolt Flush
Tighten the nut until the carriage bolt’s rounded head is flush with the wood surface. Take care not to overtighten, since this may cause damage to the wood or thread stripping.
Step 8: Hammer the Square Shoulder
Tap the carriage bolt’s square shoulder firmly into the wood with a hammer to further strengthen the connection. This guarantees that the bolt is securely fastened and prevents it from loosening.
What should be Paid Attention to during the Installation of Carriage Bolts?
During the installation of carriage bolts, attention to detail is essential to ensure a secure and reliable connection.
Proper Hole Size
When drilling pilot holes for the carriage bolts, use the proper drill bit size. To maintain a good fit and prevent the bolt from becoming loose over time, the hole should be slightly smaller than the shaft diameter of the bolt.
Straight Holes
Make sure that the pilot holes and following drilled holes are parallel to the wood surface. Straight holes aid in the appropriate fit of carriage bolts and promote a flush and equal connection.
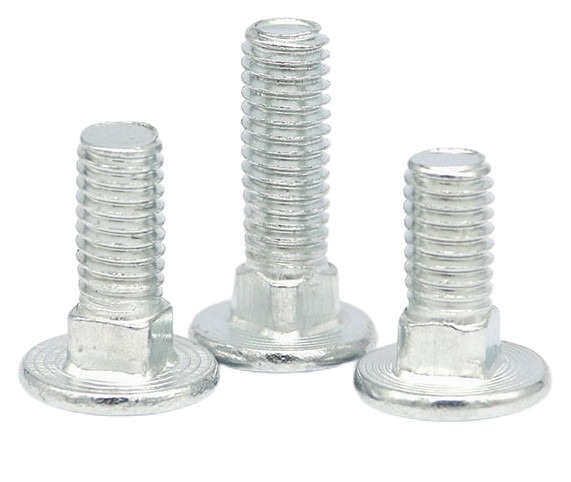
Bolt Length
Select the suitable carriage bolt length for your project. The bolts should be long enough to pass through the wood components while still leaving room for the washer and nut.
Washers
Washers should always be used between the nut and the wood surface. Washers serve to uniformly distribute the load and keep the bolt from digging into the wood when tightened.
Proper Nut Tightening
Tighten the nut on the carriage bolt’s threaded end with a wrench or socket set. Overtightening, on the other hand, might harm the wood or strip the threads. A snug fit is sufficient to ensure a secure connection.
Washer Positioning
Position the washer so that the flat side is against the wood and the curved side is against the nut. This orientation aids the washer’s operation and ensures a secure connection.
Square Shoulder Positioning
Check that the carriage bolt’s square shoulder is properly set against the wood surface. When the nut is tightened, the square shoulder stops the bolt from spinning, providing additional security.
Inspection
After installation, visually inspect the carriage bolts and connections to ensure they are properly installed and securely fastened.
Maintenance
Check the carriage bolts and connections on a regular basis for evidence of wear, loosening, or damage. Carry out any required maintenance, such as re-tightening the nuts if necessary.
Safety Precautions
When using tools and handling materials, always use appropriate safety equipment such as goggles and gloves during the installation process.
Summary
Knowing how to install carriage bolts properly is an important skill for any DIY enthusiast or professional woodworker. You can make secure and dependable connections between wooden components by following this comprehensive step-by-step guide. A correctly installed carriage bolt adds strength and stability to a variety of woodworking and construction operations.