How to Use Lock Washers Effectively?
Lock washers, also known as locking washers or split washers, are little but powerful components that help to keep nuts and bolts securely fastened. These simple but effective devices keep nuts from becoming loose owing to vibration, thermal expansion, or other circumstances. In this article, we focus on the topic of how to use lock washers effectively, exploring the commonly used types of lock washers, a step-by-step guide on using lock washers safely, and the tips and considerations when using them.

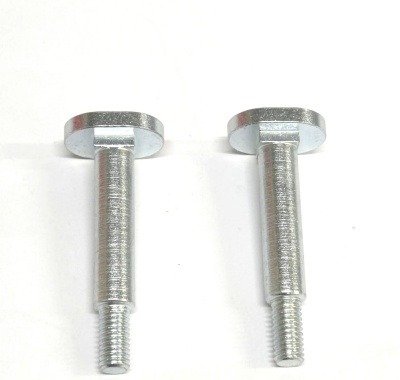
What are commonly Used Types of Lock Washers?
Split Lock Washers
These are the most common type of lock washer is distinguished by its split or helical shape. When a split lock washer is compressed between a nut and a surface, it creates tension that prevents the nut from backing off.
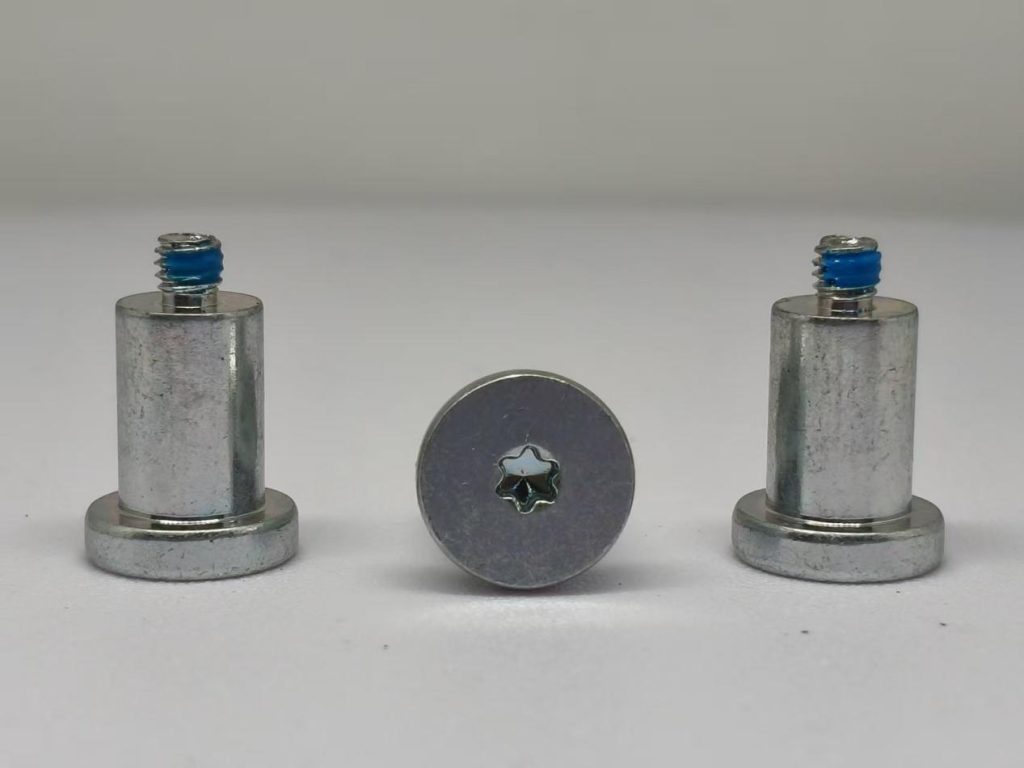
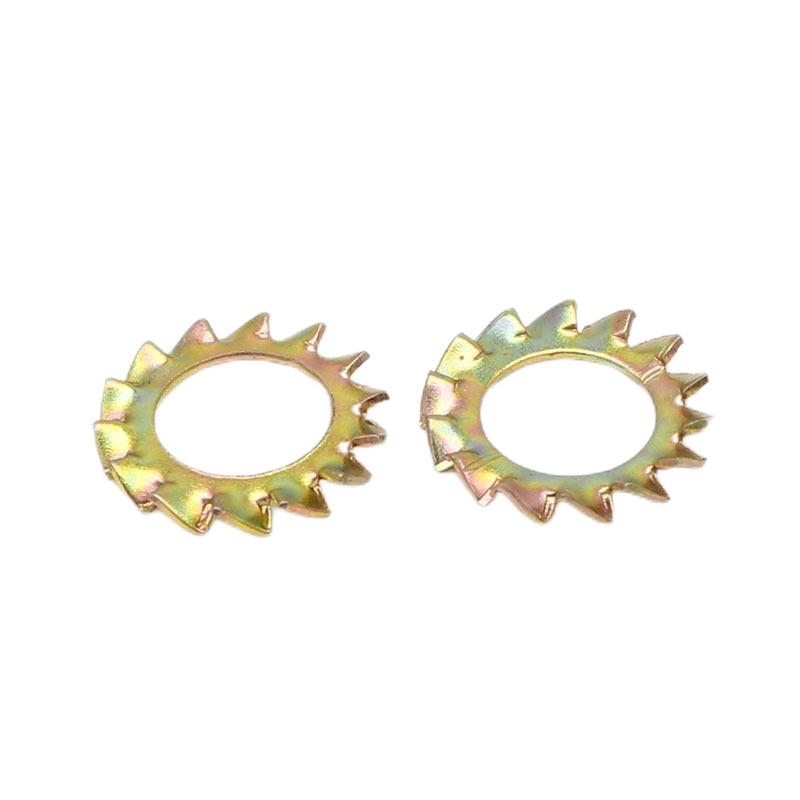
Toothed Lock Washers
External teeth on toothed lock washers, also known as star washers or external tooth washers, grasp the nut and the surface, preventing rotation and loosening..
Internal Tooth Lock Washers
Internal tooth lock washers have teeth on the inside diameter that grip the bolt or screw threads, providing resistance against loosening.
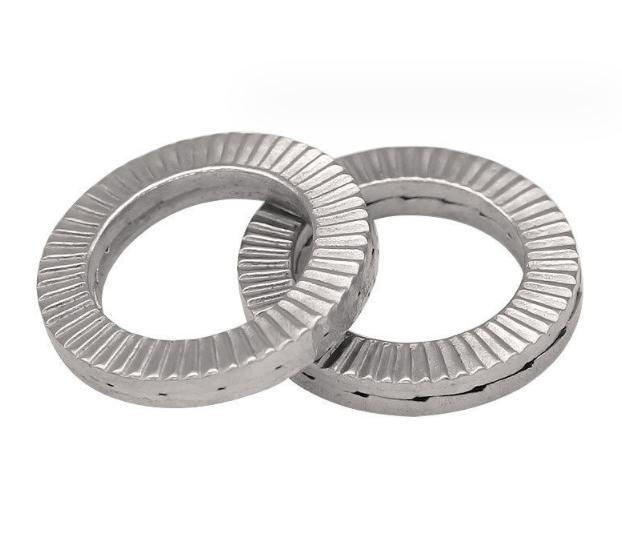
Serrated Lock Washers
When squeezed, serrated lock washers have serrations on one side that bite into the nut and the surface, providing resistance to vibration-induced loosening.

What is a Step-by-step Guide for Using Lock Washers?
To ensure the effectiveness of lock washers in your fastening applications, follow these step-by-step instructions:
Step 1: Gather Your Materials
Collect the materials you’ll need for your fastening project including a lock washer, a nut, a bolt or screw, and the components you want to firmly link.
Step 2: Prepare the Components
Align the components you intend to fasten to ensure appropriate assembly positioning.
Step 3: Insert the Bolt or Screw
Insert a bolt through the aligned components, making sure it goes through all of the necessary holes. Place the screw in the hole if you’re using one.
Step 4: Place the Lock Washer
Slide the lock washer onto the bolt or screw’s protruding end. Make sure it’s centered between the nut (or surface) and the components you’re securing.
Step 5: Add the Nut
Thread the nut until it makes contact with the lock washer on the bolt or screw. The lock washer is not yet engaged at this moment.
Step 6: Hand-Tighten
To begin, tighten the nut with your fingers until it is snug against the components. At this point, the lock washer is still uncompressed.
Step 7: Apply Torque
To apply the required torque for your application, use the appropriate equipment, such as a wrench or socket wrench. The lock washer will compress and exert tension when you tighten the nut.
Step 8: Tighten to Specified Torque
Tighten the nut until it meets the torque value provided in your project’s or equipment’s requirements. Proper torque ensures that the lock washer works properly.
Step 9: Observe the Lock Washer
After tightening, inspect the lock washer. You should notice visible evidence of deformation or compression, indicating that it has engaged and is exerting tension to prevent loosening.
Step 10: Confirm Fastening
Ensure that the components are securely fastened, and there is no movement or play between them. Verify that the nut is tightened to the recommended torque specification.
Step 11: Periodic Checks
Lock washers are not reusable, so if you ever disassemble the fastened components, you should replace the lock washer with a new one when reassembling.
Tips and Considerations for Using the Lock Washers
- Choose the appropriate type of lock washer for your application. Split lock washers, toothed lock washers, and serrated lock washers are all common types.
- Always adhere to the manufacturer’s recommended torque specifications to avoid over-tightening, which can damage the lock washer or threads.
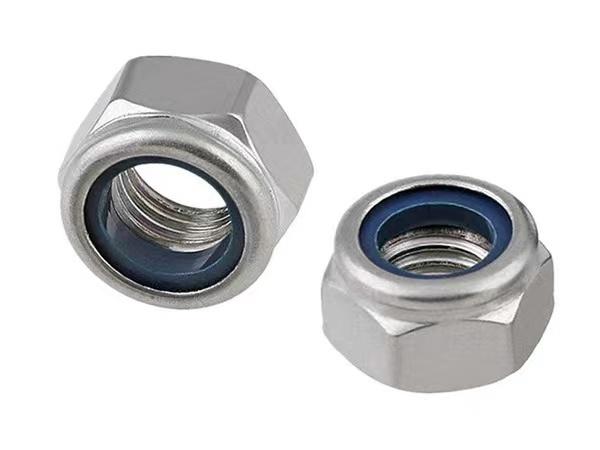
- Use additional locking mechanisms, such as nylon-insert lock nuts or thread-locking adhesives, in conjunction with lock washers for greater security in critical or high-vibration situations.
Conclusion
Lock washers may be small, but they have a big impact on the reliability of fastened components. By following these steps and selecting the appropriate type of lock washer for your application, you can ensure that your nuts and bolts remain to stay securely in place, giving you piece of mind and preventing any problems caused by loosening over time.