How to Use Screw and Anchor: A Detailed Step-by-step Guide?
It may appear difficult to hang items on walls, but with the correct equipment and a step-by-step approach, you can accomplish stable and professional-looking installations. Screws and anchors are essential for giving stability and support for mounting shelves, artwork, or decorations. Here in we’ll focus on the topic of how to use screws and anchors, providing a comprehensive step-by-step guide to help you hang items effectively.
How to Choose the Right Screw and Anchor for Using?
1. Consider the Wall Material
Different types of anchors are required for different types of walls. Here are some common alternatives:
- Drywall: For lightweight items, plastic expansion anchors or threaded drywall anchors work nicely. Consider utilizing toggle bolts or snap toggles that anchor straight to the back of the drywall for heavy things.
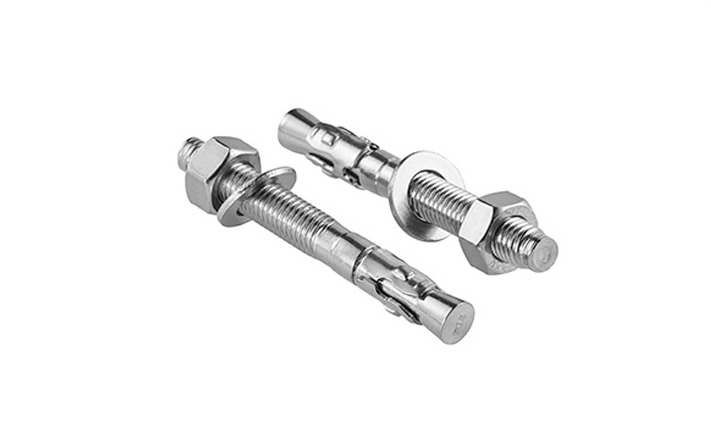
- Concrete or Masonry: For concrete or brick walls, concrete screws or hammer-in anchors are excellent. These anchors are made to hold firmly in solid materials.
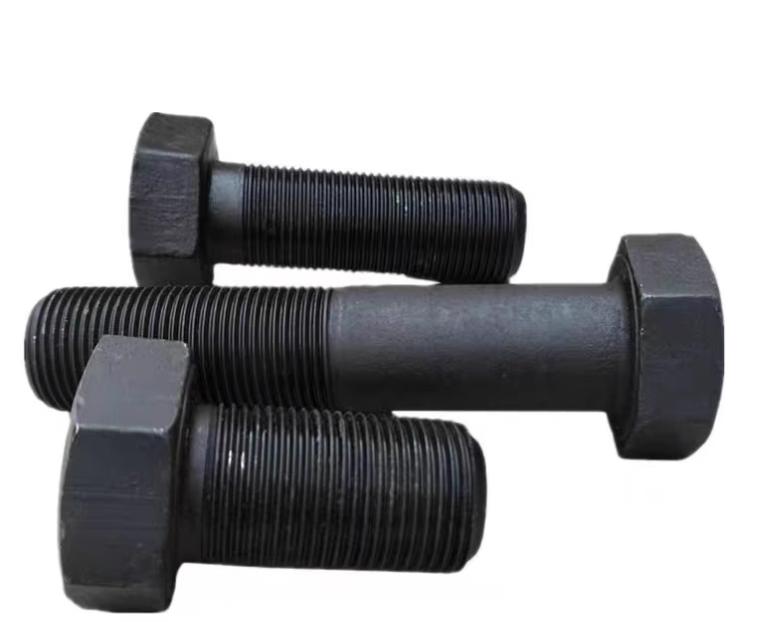
- Wood: Wood screws are ideal for attaching objects to wooden studs.
2. Determine Weight Capacity
Each anchor and screw has a weight capacity, or the maximum amount of weight it can safely support. Estimate the weight of the item to be hung and select anchors and screws with a weight rating that is greater than this estimate. To ensure a stable installation, always choose anchors with a higher weight capacity than is required.
3. Choose the Right Type of Anchor
There are several types of anchors available, each suitable to a certain application:
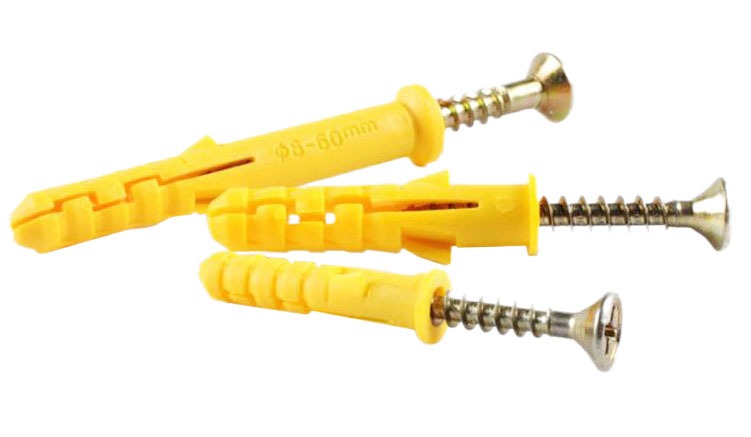
- Expansion Anchors: Expansion anchors are adaptable and appropriate for light and medium-weight things on drywall. They expand as the screw is inserted, providing a firm grip.
- Toggle Bolts: Toggle bolts are ideal for heavier goods since they anchor beneath the wall and give substantial support. They come in handy when there isn’t a stud to anchor to.
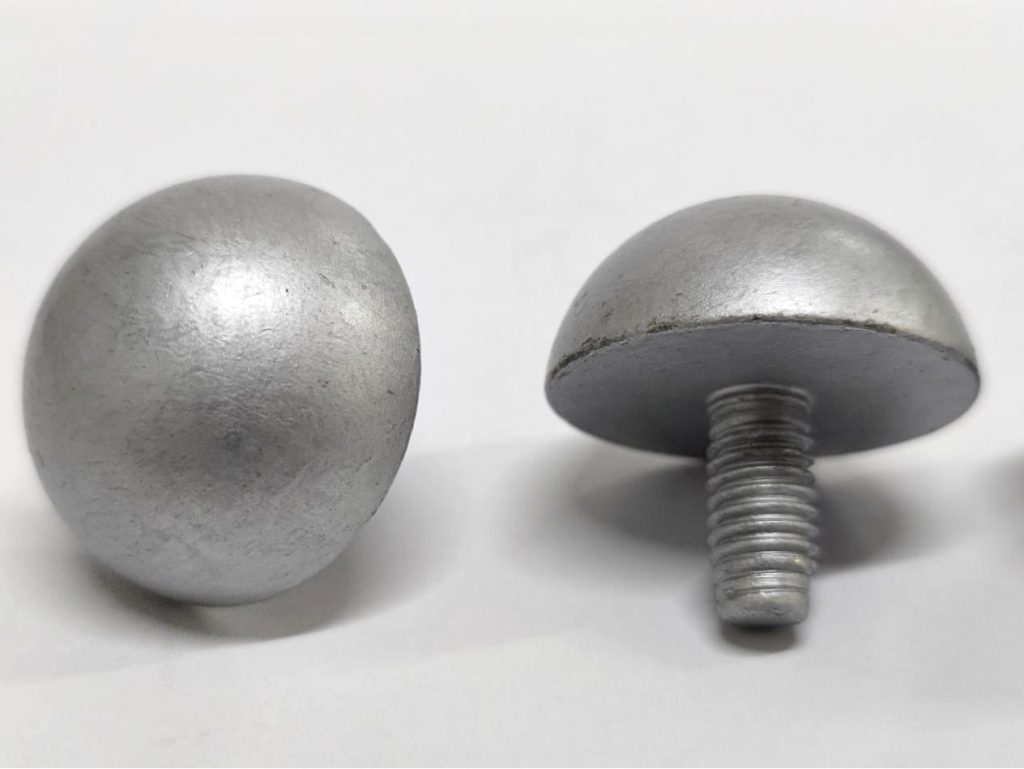
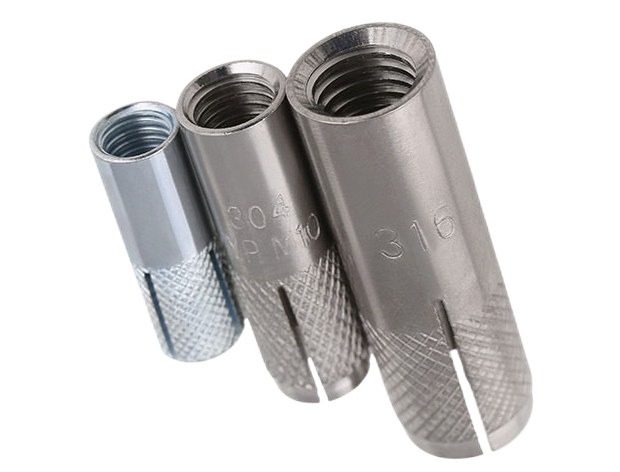
- Screw Anchors: Screw anchors are threaded anchors that hold firmly in a variety of materials. They are available in a variety of forms, including masonry sleeve anchors and drywall self-drilling anchors.
- Wing Anchors: These are intended for use with hollow walls and have a wide weight distribution.
4. Consider Wall Thickness
If you’re working with thicker walls, be sure the screws and anchors you use are long enough to securely penetrate and anchor the wall material.
5. Account for Hollow Spaces
For hollow walls, such as drywall, it’s important to choose anchors that expand behind the wall to create a strong anchor point. Toggle bolts, expansion anchors, and winged anchors are suitable options.
6. Think Ahead
Consider the future when choosing screws and anchors. If you might want to move or replace the item you’re hanging, opt for removable anchors like plastic expansion anchors. If you’re looking for a more permanent solution, toggle bolts or screw anchors may be better.
What is the Detailed Step-by-step Guide of Using Screws and Anchors?
Step 1: Gather Your Tools and Materials
Before you begin, make sure you have all the necessary tools and materials ready. You’ll need screws, anchors, a drill, a screwdriver, a pencil, a level, a tape measure, and the item you’re hanging.
Step 2: Mark the Mounting Points
Use a tape measure and a pencil to mark the desired height and position of the item you’re hanging. Make sure it’s level and centered. If you’re hanging multiple items, ensure they’re evenly spaced.
Step 3: Pre-Drill Holes
For a smoother installation, pre-drill holes at the marked points. The diameter of the drill bit should be slightly smaller than the diameter of the anchors.
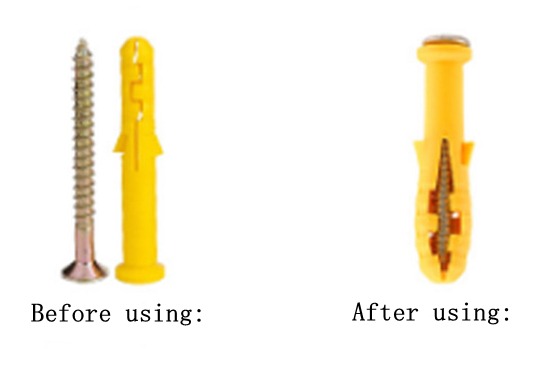
Step 4: Insert Anchors
If you’re using anchors, gently tap them into the pre-drilled holes using a hammer until they are flush with the wall. This provides a sturdy base for the screws.
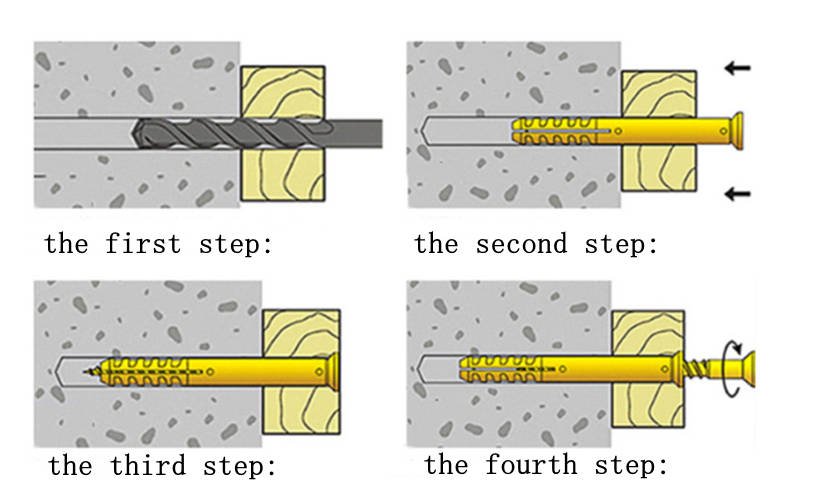
Step 5: Attach the Item
Hold the item against the wall, aligning it with the anchors. If you’re working with a heavy item, it’s helpful to have a friend assist you. Insert the screws through the mounting holes in the item and into the anchors.
Step 6: Screw in the Screws
Using a screwdriver or a power drill, begin tightening the screws. Start by hand to ensure they catch properly. As you tighten, make sure the item remains level and aligned with your markings.
Step 7: Check for Stability and Level
Once the screws are fully tightened, use a level to verify that the item is perfectly straight. Gently give it a small tug to ensure it’s securely attached to the wall.
Step 8: Test and Evaluate
After installation, place a small amount of pressure on the item to test its stability. If it feels secure and doesn’t shift, you’ve successfully hung your item.
What are Useful Tips for Using Screw and Anchor?
- Test on a Scrap Material
If you’re uncertain about the effectiveness of a particular anchor or screw in a specific wall material, practice on a scrap piece before proceeding to the actual installation. This will give you a better understanding of how the materials interact and how to achieve the best result.
- Use a Stud Finder
When mounting heavy items, such as shelves or heavy artwork, use a stud finder to locate wall studs. Attaching your screws and anchors to studs provides extra stability and weight-bearing capacity.
- Combine Anchors for Added Strength
For extremely heavy items, consider using multiple anchors spaced evenly along the mounting area. This distributes the weight and provides added stability.
- Use Toothpaste for Marking
Before installing anchors, place a bit of toothpaste on the tip of the anchor and press it against the wall. This will leave a small mark indicating where to drill. Once you drill the hole, wipe away the toothpaste.
- Don’t Over-Tighten Screws
When tightening the screws, be cautious not to overtighten them. Doing so can strip the anchor or damage the wall material. Tighten until snug, but not so much that you feel resistance.
- Level as You Go
Check for level and alignment at every step of the installation. This will help you catch any errors before they become harder to correct once everything is in place.
- Hang Items Before Final Tightening
If you’re installing items with multiple attachment points, like a towel rack with two brackets, hang the item loosely on the first bracket before tightening the screws completely. This makes it easier to align the second bracket accurately.
- Use Rubber Mallet for Anchors
For tougher wall materials, gently tap anchors into place using a rubber mallet. This helps prevent damaging the anchor or cracking the wall.
- Consider Weight Distribution
If you’re hanging items with uneven weight distribution, such as a shelf with more weight on one side, ensure that the anchor placement compensates for the imbalance.
- Check for Electrical Wires and Pipes
Before drilling, make sure you’re not drilling into electrical wires or pipes. Use a stud finder with a wire detection feature to avoid potential hazards.
- Use Screw Anchors for Safety
For installations that require maximum safety, such as securing heavy furniture to prevent tip-overs, use screw anchors that attach directly to the wall studs.
With these tips, you’re well-equipped to tackle screw and anchor installations with confidence.
Conclusion
Using screws and anchors to hang items effectively is a skill that can elevate your home improvement projects. By selecting the right screws and anchors and following the steps outlined in this guide, you can achieve secure and stable installations that not only enhance the aesthetics of your space but also ensure safety.