How to Use Screw Anchors Effectively?
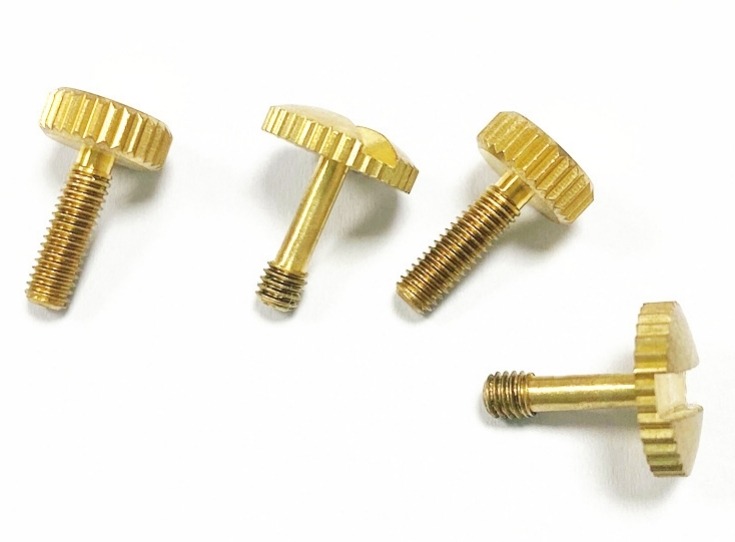
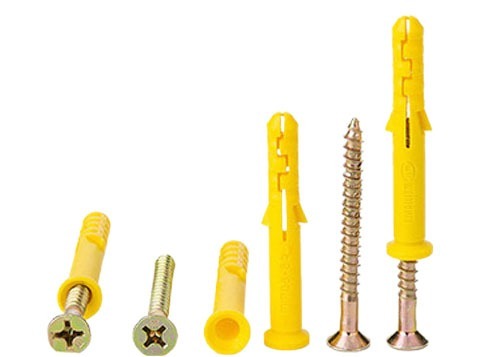
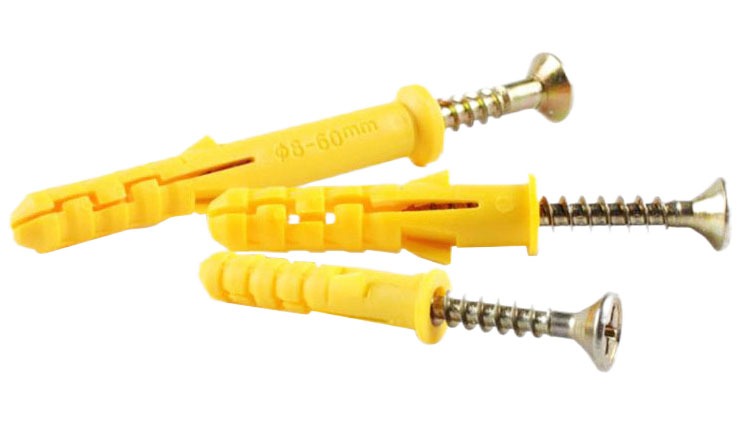
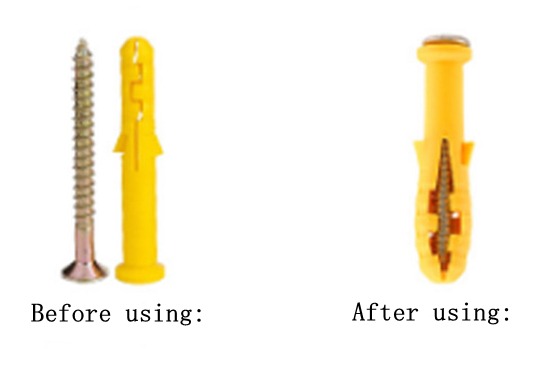
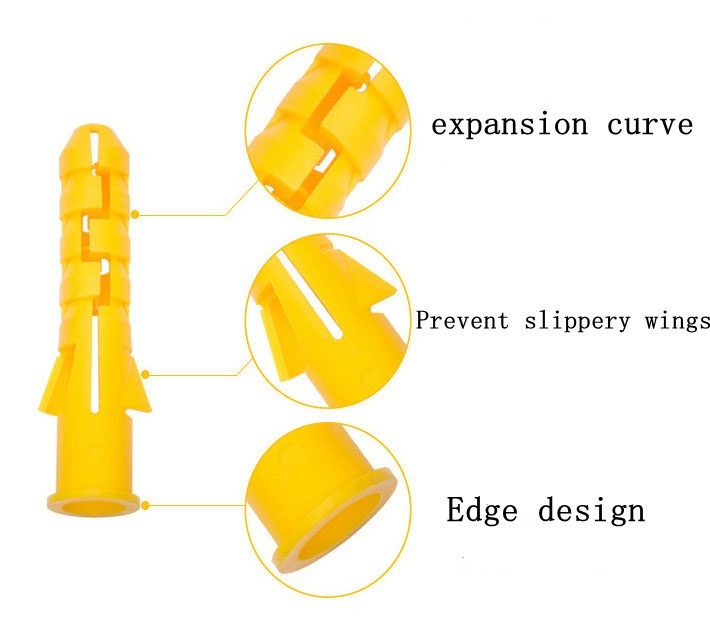
Screw anchors, also known as screw-in anchors or expansion anchors, are fasteners used to secure materials such as drywall, concrete, brick, and wood. When placed appropriately, they have a threaded screw-like body with specific characteristics that allow them to grasp the surrounding material firmly. They are adaptable and dependable instruments for attaching items to diverse surfaces. Understanding how to use screw anchors is essential for ensuring stability and safety in your projects. This article will give you a detailed step-by-step approach to efficiently using screw anchors.
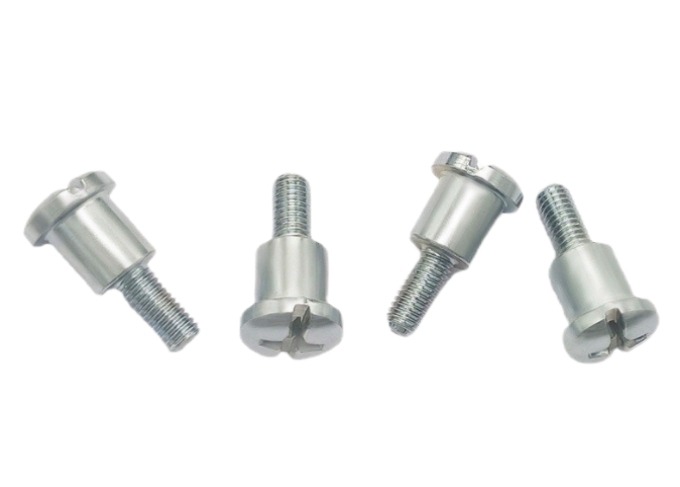
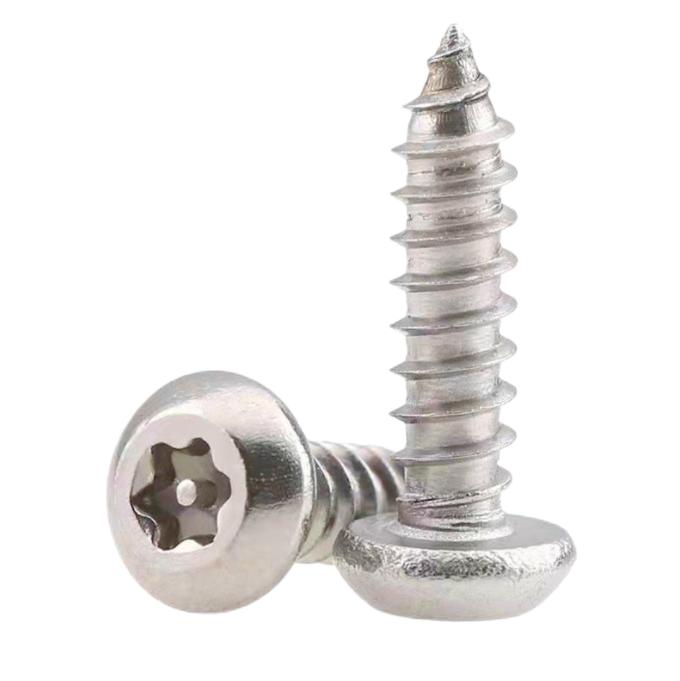
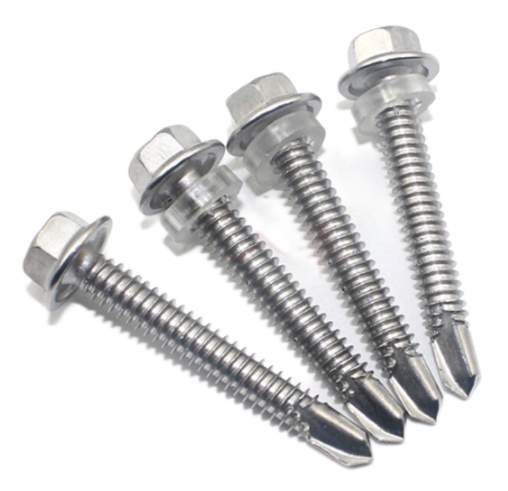
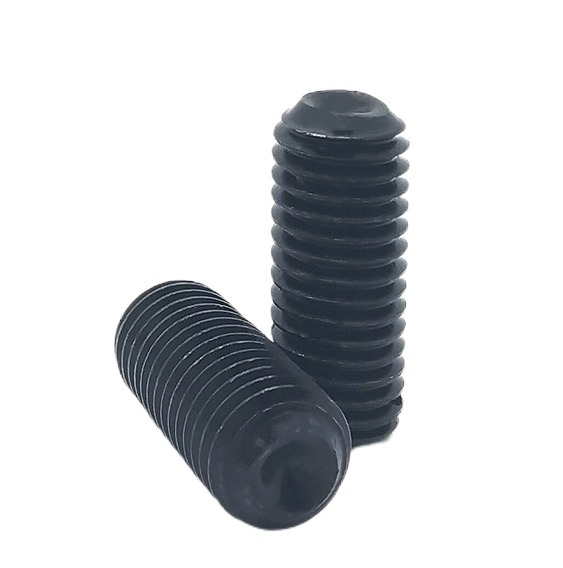
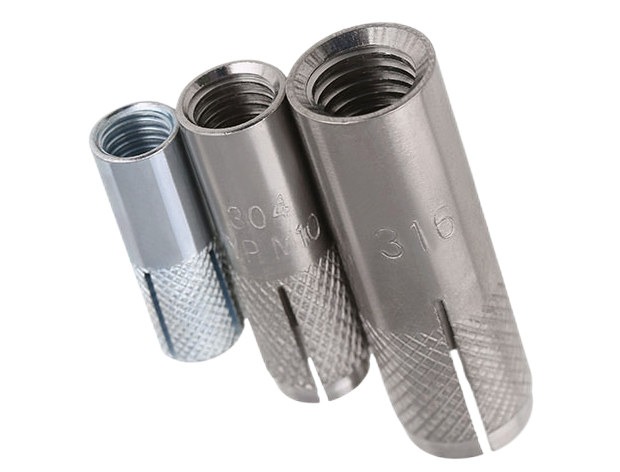
Selecting the Right Screw Anchor
Before beginning any project, it is critical to select a suitable screw anchor based on the material and load requirements. To ensure the anchor’s suitability, consider aspects such as weight, surface type, and environmental conditions.
Preparing the Area for Installing Screw Anchors
It is critical to adequately prepare the installation location before putting screw anchors.
Clear the Area
Clear the area where the screw anchors will be installed of any obstructions or debris. Clearing the area will result in a clean, accessible surface for the installation process.
Mark the Anchor Locations
Determine the desired screw anchor sites. Mark the exact locations where the anchors will be inserted with a pencil or marker. Make sure the markers are visible and appropriately represent the intended anchor placements.
Measure and Level
Measure and note the precise distances between the anchor sites using a measuring tape or ruler. This is particularly critical if you are putting many anchors in a row or in certain patterns. Use a level to confirm that the marks are level and properly aligned.
Check for Utilities
Before drilling or placing screw anchors, make sure there are no concealed utilities behind the installation area, such as electricity wires or plumbing pipes. To determine the existence of utilities, use a stud finder or examine construction drawings. To avoid damage and potential risks, avoid installing screw anchors in places where utilities are present.
Clean the Surface
Remove any debris from the area where the screw anchors will be installed. Remove any dirt, dust, or debris that may affect the anchor’s grip or impede the installation procedure with a brush or cloth. A clean surface will improve the anchors’ adherence and stability.
Consider Pilot Holes
You may need to drill pilot holes depending on the type of screw anchor you’re using and the material you’re installing into. Pilot holes allow the screw anchor to be guided into the material and prevent it from breaking or cracking. Check the manufacturer’s instructions to see if pilot holes are required and what size drill bit to use.
Gather Tools and Equipment
Ascertain that you have all of the tools and equipment required for the installation process. This may include a drill, appropriate drill bits, measuring tape, level, pencil, or marker, and a brush or cloth for cleaning. Having all the tools readily available will streamline the installation process.
Safety Precautions
Finally, when preparing the installation location, always prioritize safety. When using tools or cleaning the area, use proper protective equipment such as safety glasses or gloves. Prevent mishaps or injuries during the installation process by taking the appropriate safeguards.
Drilling Pilot Holes for Installing Screw Anchors
Drilling pilot holes is a critical step in screw anchor installation, especially when working with tougher materials or bigger diameter anchors. Pilot holes aid in the installation of screw anchors by guiding them into the material, preventing breaking or cracking, and ensuring a secure and accurate installation.
Select the Proper Drill Bit
Select a drill bit with the same diameter as the pilot hole required for your screw anchor. To establish the recommended drill bit size, consult the manufacturer’s instructions or the anchor packing. Using the correct drill bit size will ensure a snug fit for the screw anchor.
Mark the Pilot Hole Location
Mark the exact location on the installation surface where you will drill the pilot hole with a pencil or marker. Make sure the mark is visible and aligns with the anchor point you want.
Attach the Drill Bit
Insert the drill bit of choice into the chuck of your drill and tighten it securely. To avoid wobbling or sliding during drilling, make sure the drill bit is straight and firmly set in the chuck.
Set the Depth
Set the depth collar on your drill if necessary to control the depth of the pilot hole. This is especially critical when working with materials of variable thicknesses or when a certain embedment depth for the anchor is required.
Position the Drill
Align the drill bit with the marked pilot hole location and hold the drill perpendicular to the installation surface. Double-check that the drill is positioned correctly before proceeding.
Start Drilling
Apply mild pressure and begin drilling into the material gradually. Begin by creating a small groove or depression in the surface at a low pace. This will keep the drill bit from sliding while drilling the pilot hole.
Drill the Pilot Hole
Drill at a constant speed while using forceful yet regulated pressure. To guarantee a precise pilot hole, keep the drill straight and aligned with the designated spot. Keep the depth collar or target depth in mind, and regularly pull back the drill to take up any debris.
Clean the Hole
Retract the drill after drilling the pilot hole and clear out any debris from the hole. To achieve a clean and clear pilot hole, use a brush or compressed air. This can be done using a brush or compressed air to ensure a clean and clear pilot hole.
Test Fit
Perform a test fit by lightly placing the screw anchor into the pilot hole before installing it. Check that the anchor is snugly fitting and does not wobble or feel loose. If required, adjust the pilot hole to ensure the proper fit.
Process of Installing Screw Anchors
Screw anchor installation is a basic operation that only requires a few simple steps. After you’ve prepared the installation location and drilled pilot holes, you can begin installing the screw anchors.
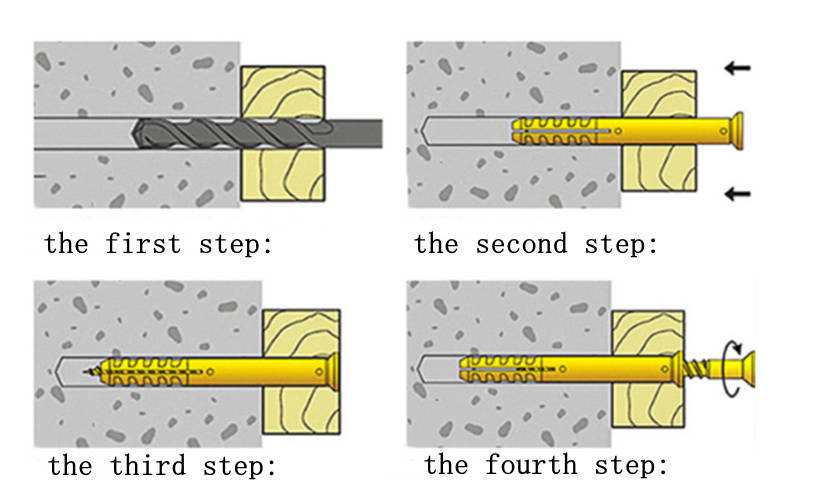
Insert the Screw Anchor
Align the screw anchor with the pilot hole you drilled. Screw the screw anchor into the hole, making sure it’s straight and flush with the surface.
Applying Pressure
Apply downward pressure while twisting the screw anchor clockwise using a screwdriver or a drill with a suitable bit. This will drive the anchor into the material and create a secure hold. Be careful not to overtighten the screw anchor, as it may cause damage or strip the threads.
Drive the Screw Anchor
Continue pressing the screw anchor into the material until it is completely embedded. The anchor should be flush with or slightly below the material’s surface.
Check for Stability
After installing the screw anchor, test its stability by lightly pushing or wriggling it. It should be securely fastened and should not move or come free. If the anchor feels loose or insecure, you may need to remove and reinstall it, or select a larger size.
Repeat for Additional Screw Anchors
If you are installing several screw anchors, repeat the instructions above for each anchor, being sure to ensure proper spacing and alignment as needed.
Trim Excess Material
If the screw anchor protrudes slightly above the surface, you can trim the excess material with a hacksaw or other suitable cutting instrument. This will ensure a clean and flush finish.
Testing the Screw Anchors
Once the screw anchors have been set, it is critical to assess their strength and stability before adding any major load or connecting heavy fixtures.
Determine the Testing Method
Depending on the application and the load they will bear, there are various methods for testing the strength and stability of screw anchors. The following strategies are frequently employed:
- Pull Test: Pull the anchor perpendicular to the surface it is fastened to using a constant, gradual pulling force. This test is appropriate for overhead applications or where the anchor will be subjected to a tension load.
- Shear Test: Apply a lateral force parallel to the surface where the anchor is anchored. This test is appropriate for circumstances in which the anchor will predominantly be subjected to shear loads.
- Tension Test: Apply a load that pulls directly away from the anchor and parallel to the screw’s length. This test is appropriate for applications where the anchor will be subjected to a tensile load.
Prepare the Testing Equipment
Gather the essential equipment based on the testing technique chosen. A hydraulic pull tester, a force gauge, a load cell, or any other device suited for measuring applied force may be included.
Attach the Testing Equipment
Attach the testing equipment securely to the fixture or structure attached to the screw anchor. Make certain that the force is applied to the anchor only and not to any other element of the construction.
Apply Gradual Force
Begin applying force gradually and steadily, gradually increasing it. Monitor the applied force and look for evidence of displacement, distortion, or failure in the anchor and surrounding structure.
Observe the Results
During the testing phase, keep an eye on the screw anchor’s activity. Look for symptoms of the anchor loosening, cracking, or deformation of the material surrounding it, or any other indicator of failure. If the anchor is unstable or does not satisfy the specified load capacity, you may need to reevaluate the anchor selection or install additional anchors for reinforcement.
Record the Test Results
Record the applied force, the anchor’s response, and any observations made during the testing process. This information will be useful for future reference, especially when determining the load capacity and safety of the screw anchors.
Evaluate the Test Results
Examine the test results in relation to the expected performance and load requirements. The screw anchor is regarded as successful if it meets the required load capacity and exhibits no evidence of failure. However, if the anchor does not exceed the requisite load capacity or exhibits signs of instability, additional action, such as installing additional anchors or seeking professional guidance, may be required.
Summary
You may securely and efficiently use screw anchors to fasten objects to various surfaces by following the step-by-step methods given in this article. Screw shield anchors can be used to establish stable and long-lasting installations with the correct knowledge and skills.