How to Tighten Carriage Bolts Correctly: A Comprehensive Step-by-step Guide
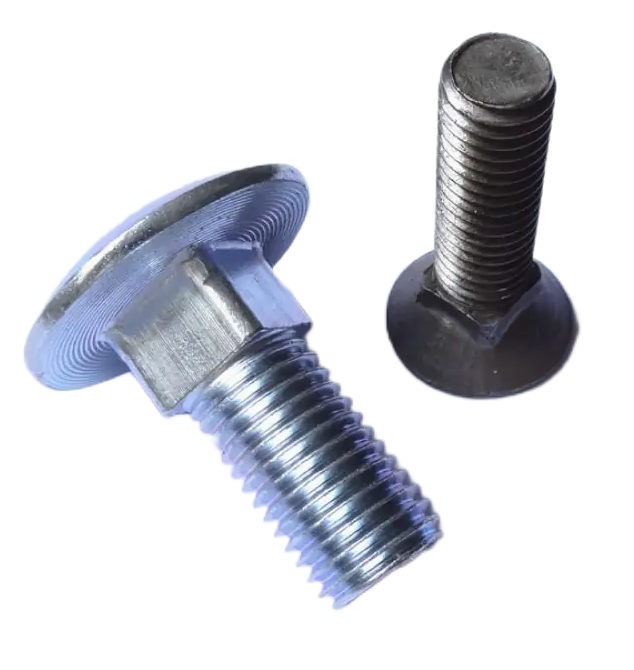
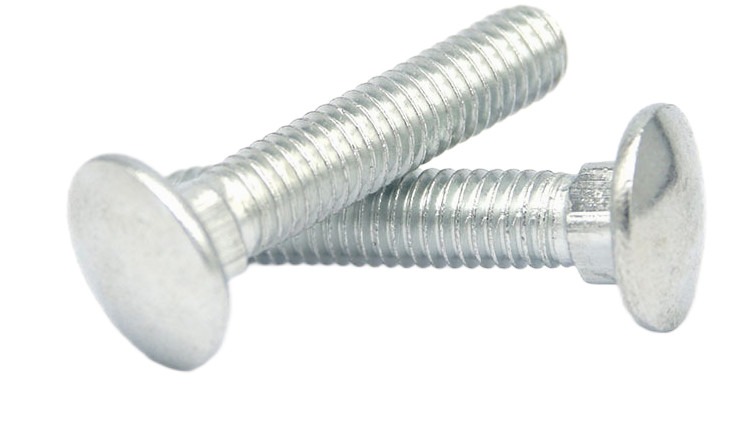
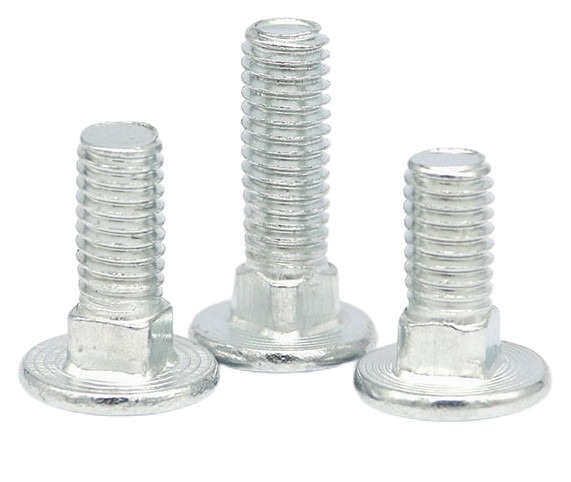
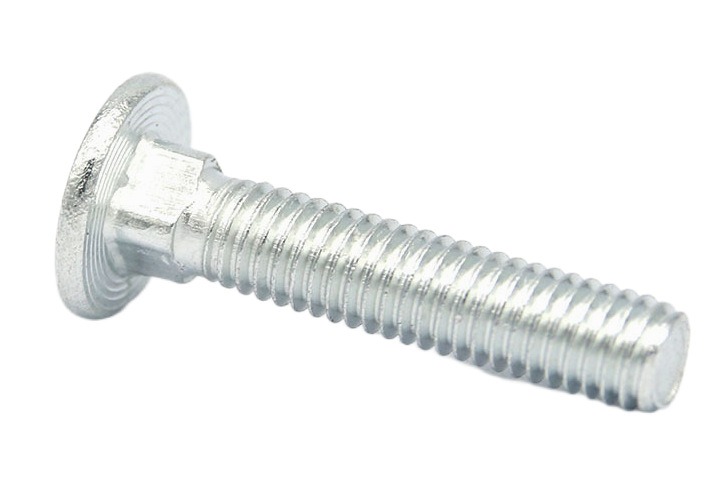
Carriage bolts are a common fastening option for situations that require a strong and visually appealing connection. These bolts have a prominent domed or mushroom-shaped head and a square neck beneath the head that prevents them from spinning when tightened. Carriage bolts must be properly secured to ensure the safety and lifespan of your projects. In this article, we’ll discuss the topic of how to tighten carriage bolts correctly, providing a detailed step-by-step guide to tightening carriage bolts and the precautions that should be paid attention to during the tightening process.
Tools and Materials You’ll Need
Before you start tightening carriage bolts, gather the necessary tools and materials:
Carriage Bolts: Choose carriage bolts that are the right size and length for your project.
Wrench or Socket Set: To tighten the bolt, you’ll need a wrench or socket set that matches the bolt size.
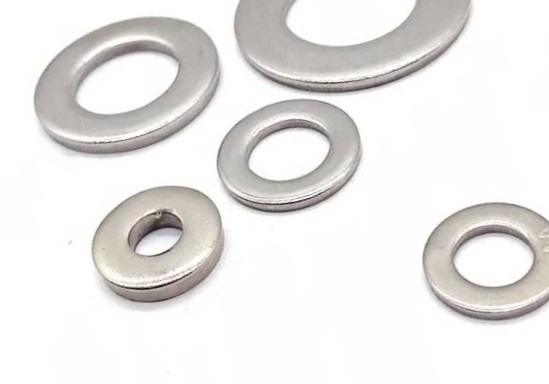
Flat Washers: Flat washers may be required depending on your project to distribute load and prevent damage to the materials being fastened.
Lock Washers or Nuts: In some circumstances, lock washers or nuts may be used to add added security and prevent the bolts from loosening over time.

What is A Step-by-Step Guide to Tightening Carriage Bolts?
Prepare the Bolt Holes
Make that the holes for the carriage bolts are clean and free of debris or impediments.
Use a drill with an appropriate bit to produce holes in the materials you’re fixing if necessary. The hole diameter should be the same as the carriage bolt size.
Insert the Carriage Bolts
Insert the carriage bolts from the side with the square neck into the prepared holes. The square neck keeps the bolt from spinning as it is tightened.
If you are fastening two pieces of material together, ensure that the bolts pass through both pieces.
Add Washers
If your project requires washers, position them on the bolt threads before tightening. Washers serve to distribute the weight and protect the material from harm.
Secure the Bolt with a Nut (if applicable)
If your project calls for it, attach a nut to the carriage bolt’s threaded end. The nut should be flush with or slightly below the top of the threaded section of the bolt.
Tighten the Carriage Bolt
Begin tightening the carriage bolt with an appropriate wrench or socket set.
Apply even pressure while twisting the bolt clockwise (righty-tighty). Tighten until the bolt head is flush with the material’s surface.
Check for Proper Tightness
After tightening, verify the connection to confirm that the carriage bolt is properly fastened.
If your project necessitates further security, use lock washers or lock nuts in conjunction with the carriage bolts.
Repeat for Multiple Bolts
Repeat the preceding steps for each carriage bolt that has to be tightened, ensuring that they are all securely fastened.
What Should be Paid Attention to During the Process of Tightening Carriage Bolts?
Tightening carriage bolts correctly is essential to ensure the safety and integrity of your projects.
Proper Alignment
Check that the holes where the carriage bolts will be inserted are properly aligned in both pieces of material. Misaligned holes can cause bolts to bind or resist threading properly, potentially causing thread damage.
Thread Engagement
Check that the carriage bolt threads are completely engaged with the material. A weak connection can come from incomplete threading.
Torque Control
Tighten the carriage bolt with the proper tool or socket set. Turn it clockwise (righty-tighty) with steady pressure. Overtightening can strip threads and ruin the material. In essential applications, consider employing a torque wrench for precision.
Proper Tightness
After tightening, check that the head of the carriage bolt is flush with the material’s surface. This ensures that the bolt is properly seated and secure.
Locking Mechanisms
Depending on the requirements of your project, you may require additional locking devices, such as lock washers or lock nuts, to keep the bolt from loosening over time. If using these, ensure they are installed correctly.
Proper Torque Specs
If your project has specific torque requirements, make sure you adhere to them. Over- or under-torquing can cause issues, so follow manufacturing guidelines or industry norms where available.
Environmental Considerations
Take into account the environmental conditions your project will be exposed to. Factors like temperature variations, moisture, and chemical exposure can affect the longevity and integrity of the bolted connection.
Maintenance
Regular maintenance might help your carriage bolt connections last longer. Lubricate threads as needed, and replace any damaged or rusted bolts as soon as possible.
By paying careful attention to these factors, you can ensure that your carriage bolts are tightened securely and that your projects remain safe and durable. Proper installation and maintenance are key to the long-term reliability of bolted connections.
Conclusion
Tightening carriage bolts correctly is critical for creating sturdy and secure connections in a wide range of applications, from woodworking and construction to metalworking and DIY projects. You may confidently tighten carriage bolts and ensure the durability and safety of your projects by following the step-by-step guide provided above and utilizing the necessary tools and supplies. Remember that making a secure and durable connection requires proper torque and consistent pressure.