How to Use A Rivet: A Comprehensive Step-by-step Guide?
Rivets are used in the construction, automotive, and aerospace industries to provide secure and dependable couplings. Any DIY enthusiast or professional must understand how to use a rivet appropriately. This article will walk you through the process of using a rivet, from gathering the appropriate tools to checking the finished junction. Following this guide will provide you with the expertise and confidence to use rivets efficiently, resulting in strong connections in your projects.
Step 1: Tools and Materials for Using a Rivet
It is critical to obtain the necessary tools and materials before beginning the riveting operation. The following are the essential items:
Rivet gun: A handheld instrument with a body, handles, and a nozzle that is specifically suited for riveting.
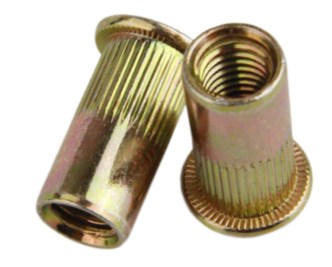
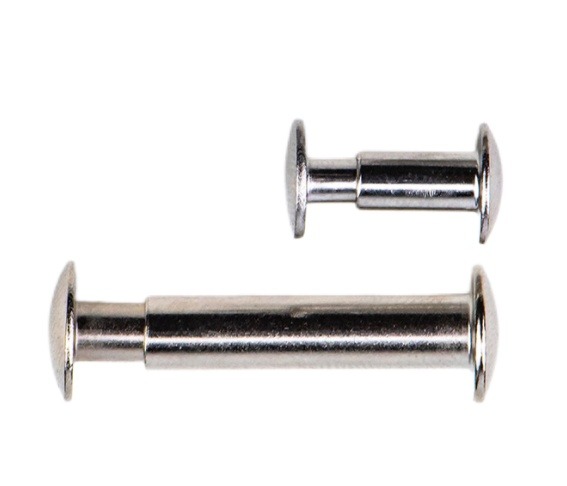
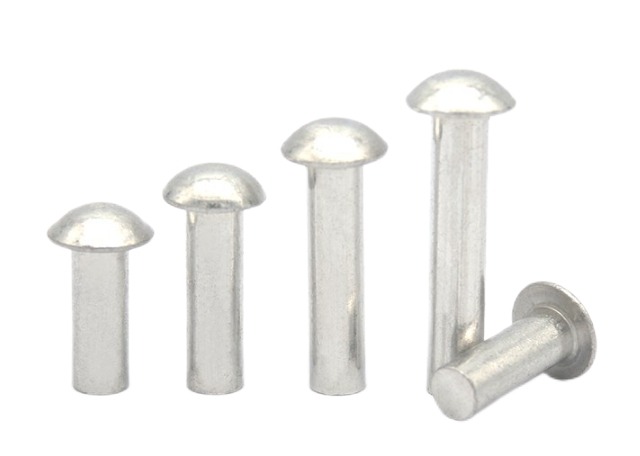
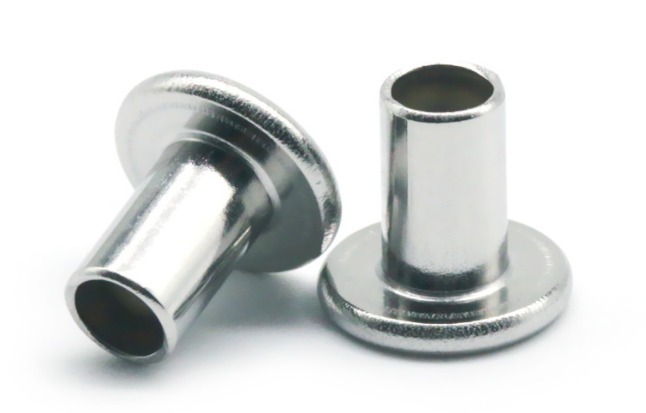
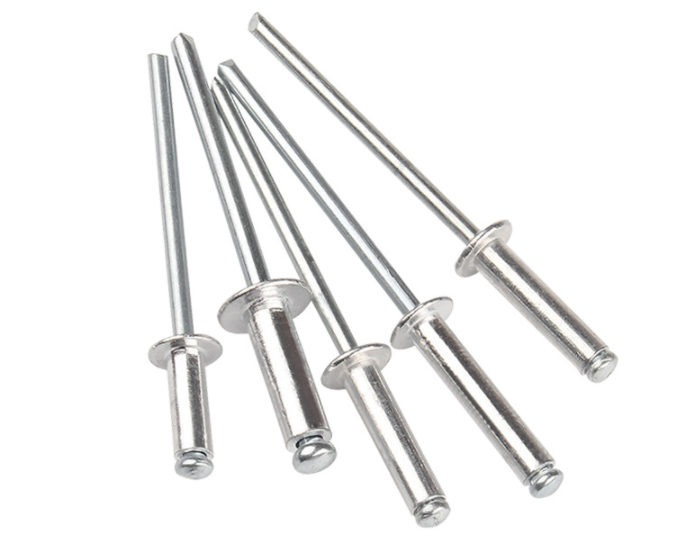
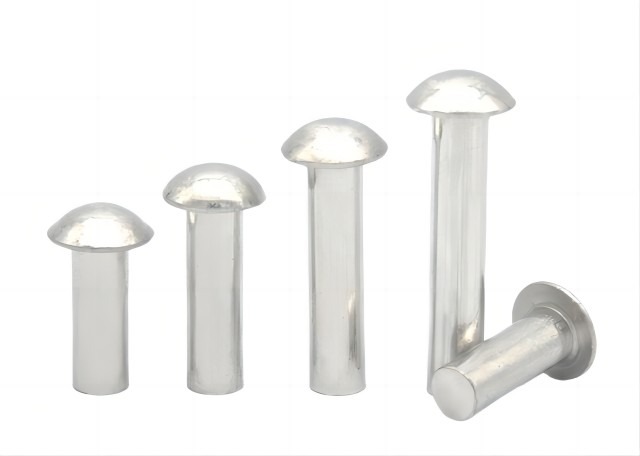
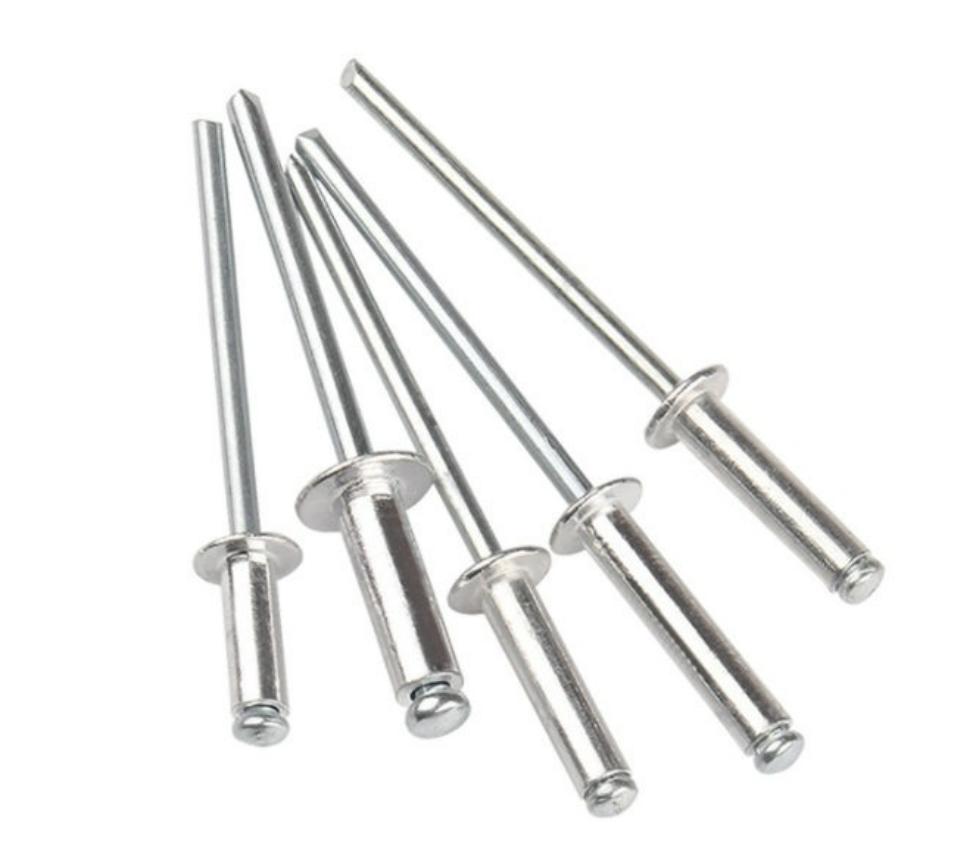
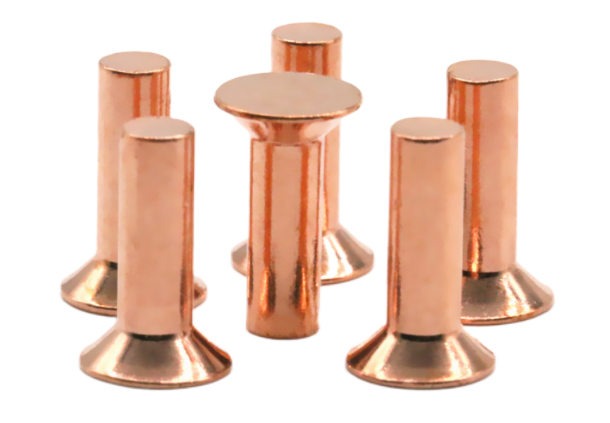
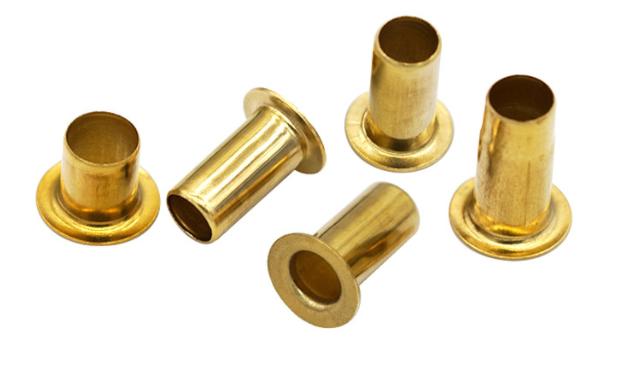
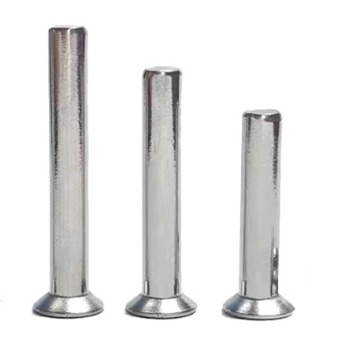
Rivets: There are various types of rivets available, including solid, tubular, and pop rivets. Based on your project specifications, select the appropriate rivet.
Drill and bits: Required for pre-drilling holes, if necessary.
Safety gear: Safety equipment is required to safeguard yourself during the process. Wear safety glasses, gloves, and earplugs.
Workpiece materials: The materials you intend to connect with rivets.
Step 2: Preparing the Workpieces for Using a Rivet
Proper workpiece preparation is essential for a successful riveting process. Take the following steps:
Align the workpieces as follows: Arrange the components to be linked in the proper order.
Mark the rivet locations as follows: Mark the exact locations where the rivets will be put with a marker or scribe.
Pre-drill holes (if necessary): Depending on the type of rivet and the materials used, pre-drill holes may be required to accommodate the rivets. Use a drill bit that is the same size as the rivet diameter.
Step 3: Loading the Rivet Gun for Using a Rivet
After you’ve prepared your workpieces, it’s time to load the rivet gun. Take the following steps:
Choose the appropriate rivet: Select a rivet that meets the specifications of your project.
Insert the rivet into the nozzle: Insert the rivet into the rivet gun’s nozzle, making sure it fits snugly.
Confirm adequate alignment: Check that the rivet is parallel to the holes on both sides of the workpieces.
Step 4: Positioning the Rivet for Using a Rivet
To achieve accurate and secure rivet insertion, the rivet gun must be properly positioned. Here’s how to put the rivet in place:
Align the nozzle: Place the nozzle of the rivet gun directly over the first hole you drilled or marked for the rivet.
Verify alignment: Check that the rivet is aligned correctly with the holes on both sides of the workpieces. This will ensure a strong joint.
Step 5: Squeezing the Rivet Gun for Using a Rivet
With the rivet gun in place, squeeze the handles to set the rivet. Take the following steps:
Firmly grip the rivet gun: Hold the rivet gun handles firmly to retain control during the process.
Squeeze the handles together: To engage the rivet gun, apply consistent pressure to the handles.
Deform the rivet: As you squeeze the rivet gun’s handles, pressure is applied to the rivet, forcing it to deform and form a tight joint.
Step 6: Setting the Rivet for Using a Rivet
A correctly set rivet ensures a sturdy connection. Take the following steps:
Keep an ear out for the popping sound: Squeeze the handles again and again until you hear a clear popping sound. This sound indicates that the rivet has been properly placed.
Avoid over-squeezing: Be careful not to over-squeeze the handles, as this can damage the rivet or the workpieces.
Step 7: Inspecting the Joint for Using a Rivet
Inspect the junction once the rivet has been set to ensure a strong and secure connection. Here are some things to watch for:
Check for gaps: Check the junction for any obvious gaps between the workpieces. If there are gaps, it could be the result of a loose or incorrectly put rivet.
Test for stability: Gently press the linked components together to check for movement or symptoms of weakness.
Assess for damage: Inspect the rivets and workpieces for evidence of damage or deformation. If there are any problems, replace the rivet or make the appropriate changes.
Step 8: Finishing Touches for Using a Rivet
Follow these final steps to get a clean and professional finish:
Trim any extra rivet (if necessary): If the rivet protrudes from the workpiece, trim it with a rivet cutter or file to provide a smooth surface.
Make sure a flush finish: Run your palm over the joint after trimming to ensure it is smooth and equal.
Summary
You can confidently use rivets to produce strong and durable connections by following the step-by-step guide detailed in this article. Remember to prioritize safety by wearing suitable safety gear and using the appropriate rivets for your unique application. You will gain proficiency in using a rivet through practice, boosting your capabilities in construction, automotive, and other industries.