How to Use Pop Rivets: A Step-by-Step Guide
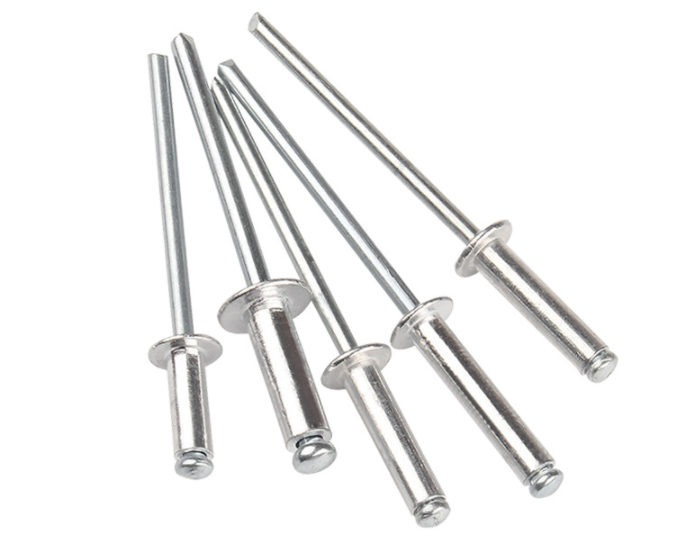
Pop rivets, also known as blind rivets, are versatile fasteners used in a variety of applications for joining materials together. They are popular due to their ease of use, cost-effectiveness, and reliability. Whether you’re a DIY enthusiast or a professional, understanding how to properly use pop rivets can save you time and effort while ensuring strong and secure connections. In this guide, we’ll take you through the step-by-step process of using pop rivets effectively.
Step 1: Gather the Necessary Tools and Materials
Before you start using pop rivets, make sure you have all the required tools and materials on hand. Here’s what you’ll need:
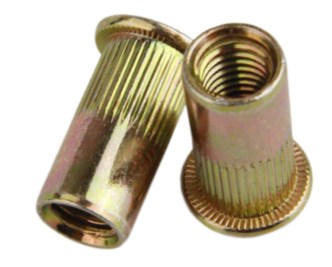
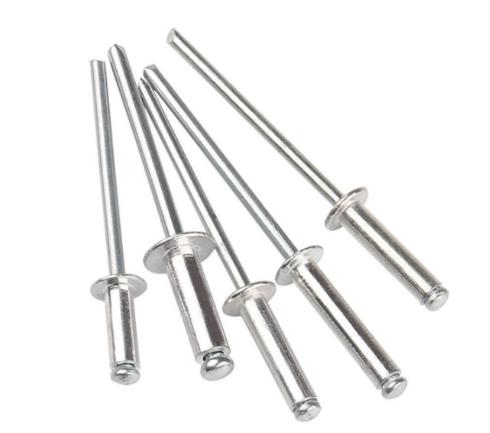
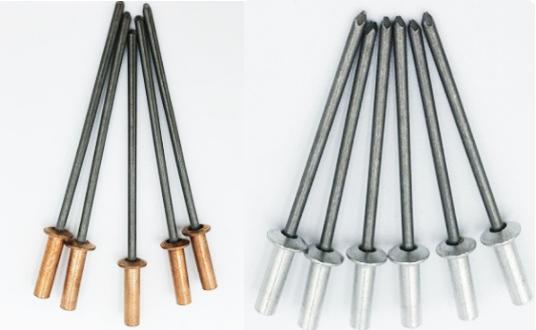
- Pop Rivets: Choose the appropriate size and material of pop rivets for your specific project. The size is usually indicated by the diameter of the rivet and the grip range it can accommodate.
- Rivet Gun (Pop Rivet Tool): A rivet gun is a specialized tool designed to install pop rivets. There are manual and pneumatic rivet guns available. Ensure that the rivet gun you choose is compatible with the size of pop rivets you’re using.
- Drill and Drill Bits: If you need to create holes for the rivets, a drill and the corresponding drill bit will be necessary. The hole diameter should match the size of the rivet’s shank.
- Marker or Center Punch: To accurately mark the locations where the rivets will be installed.
- Safety Gear: Safety glasses or goggles and work gloves to protect yourself from debris.
Step 2: Mark and Drill Holes (If Required)
If the materials you’re joining do not have pre-existing holes, you’ll need to mark and drill holes to accommodate the rivets. Use a marker or a center punch to mark the precise locations where the holes should be drilled. Then, using a drill and an appropriately sized drill bit, create holes at the marked spots.
Step 3: Insert the Rivet
With the holes prepared (if needed), insert the pop rivet into the hole from one side of the materials. The head of the rivet should be on the side where you’ll be using the rivet gun.
Step 4: Set Up the Rivet Gun
Set up your rivet gun according to the manufacturer’s instructions. If your rivet gun has multiple nosepiece attachments, choose the one that matches the diameter of the rivet’s mandrel. Attach the nosepiece securely to the gun.
Step 5: Secure the Rivet
Place the nose of the rivet gun over the exposed mandrel of the pop rivet. Apply firm and even pressure to hold the materials together.
Step 6: Squeeze the Rivet Gun
Squeeze the handles of the rivet gun together. This action pulls the mandrel through the rivet, causing the tail end of the rivet to flare out on the blind side of the materials while the head side remains intact.
Step 7: Verify Completion
Listen for a distinct “pop” sound, which indicates that the rivet has been successfully set. The tail of the mandrel should break off cleanly, leaving a secure and flush connection between the materials.
Step 8: Repeat the Process
If you have multiple rivets to install, repeat the steps for each one. Make sure to position the rivets consistently and apply even pressure while setting each rivet.
Step 9: Inspect the Connections
Once all the rivets are in place, inspect the connections to ensure they are secure and flush. Check for any gaps or loose rivets. If needed, you can use a file or sandpaper to smooth out any rough edges.
Step 10: Finishing Touches
Depending on your project, you might want to consider painting or sealing the joined materials to enhance their appearance and protection against corrosion.
Summary
In conclusion, pop rivets are a simple yet effective solution for joining materials together. By following these step-by-step instructions, you can confidently use pop rivets to create strong and secure connections. Whether you’re working on DIY projects, home repairs, or professional applications, mastering the art of using pop rivets opens up a world of possibilities for efficient and reliable fastening.