How to Put Rivets in Leather: A Comprehensive Step-by-step Guide
It’s critical to learn strategies for firmly securing leather parts together while working with leather. Using rivets is one crucial approach for accomplishing this. Rivets not only bring structural integrity to your leather products, but they also add a professional touch. In this article, we focus on the topic of how to put rivets in leather, providing a detailed step-by-step guide to putting rivets in leather and useful tips during the process.
Materials and Tools You’ll Need in the Process of Putting Rivets in Leather
Leather Pieces
Collect the leather parts you want to connect. Depending on your project, this could be two or more layers of leather.
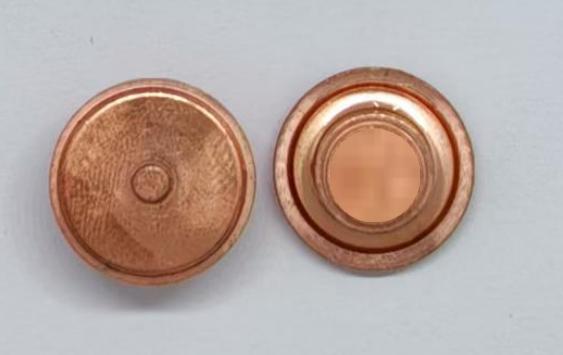
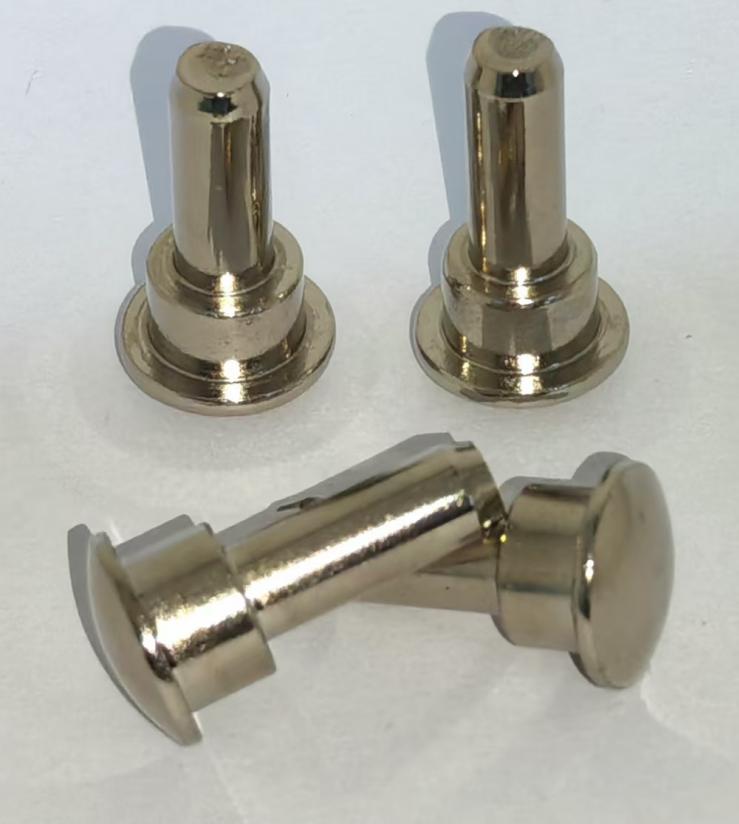
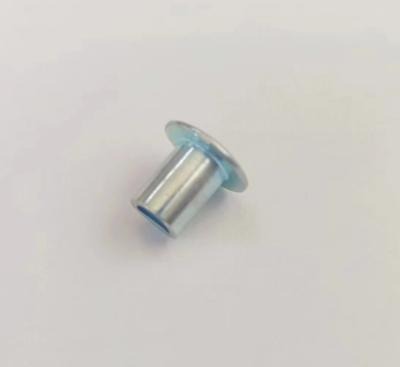
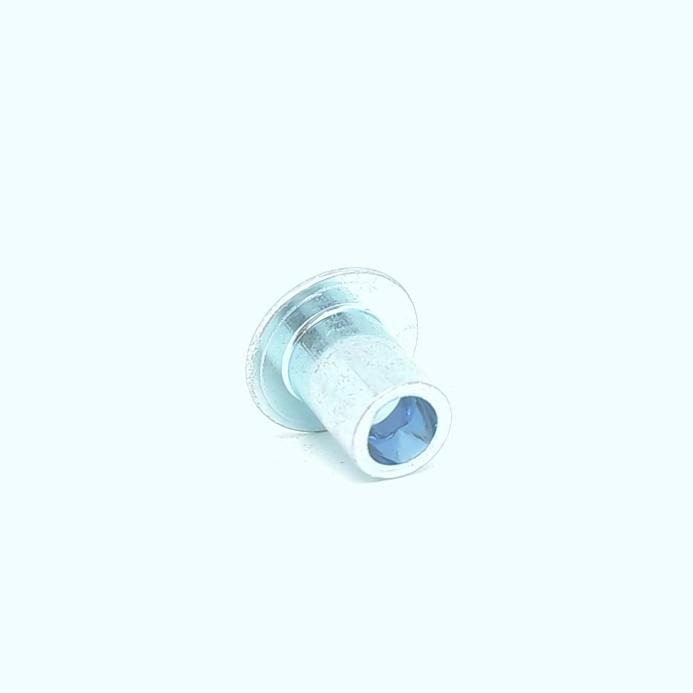
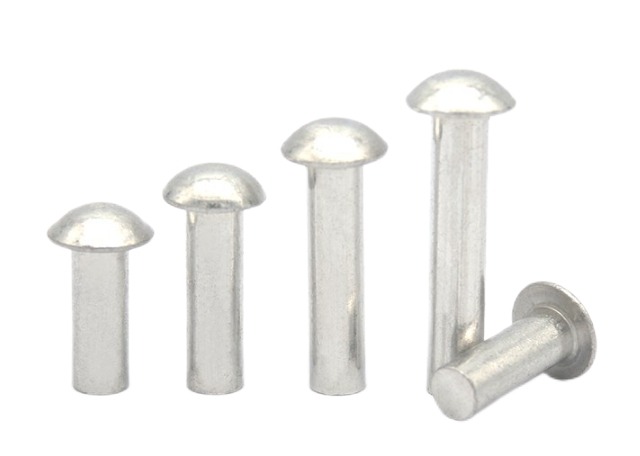
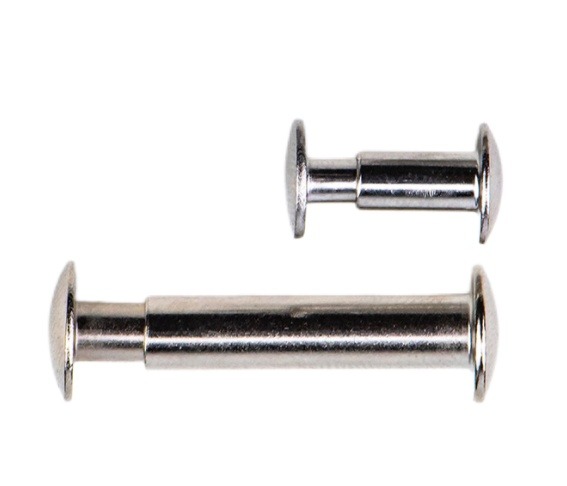
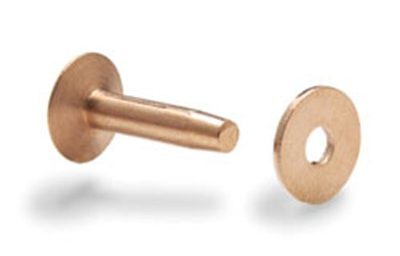
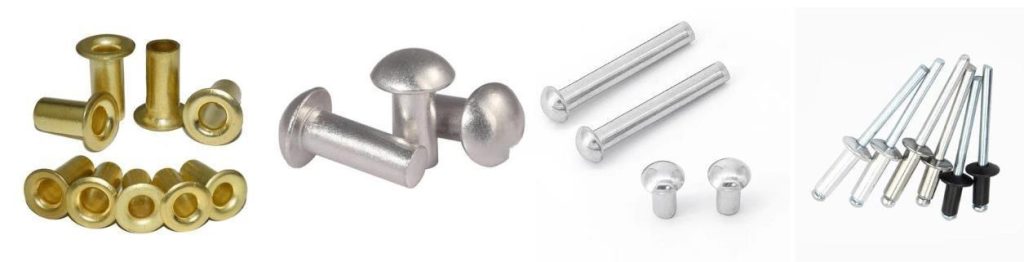
Rivets
Select the type, size, and finish of rivets that are appropriate for your project. Single cap, double cap, and tubular rivets are common possibilities. The option is determined by the thickness of the leather and your design preferences.
Rivet Setter
This tool is crucial for installing the rivets correctly without harming the leather. It typically has a concave and a flat end.
Anvil or Hard Surface
When setting the rivet, you’ll need a sturdy, flat surface, such as an anvil or a metal plate, to support the back of the rivet. This ensures a clean and secure connection.
Hole Punch or Rotary Punch
Make holes in the leather pieces for the rivets with this tool. Check that the hole size corresponds to the size of the rivets.
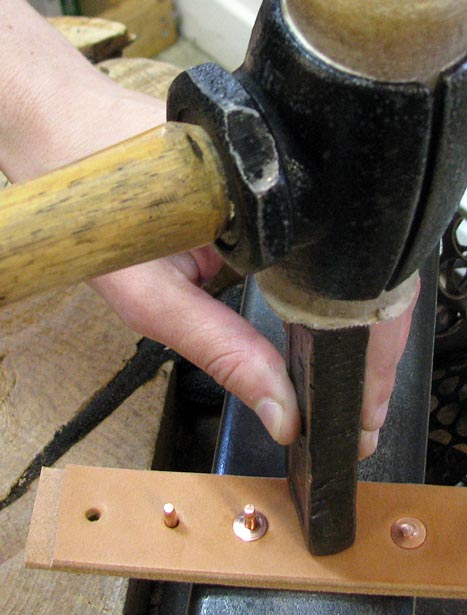
Mallet or Hammer
The rivet setter is struck with a mallet or hammer to secure the rivet in place.
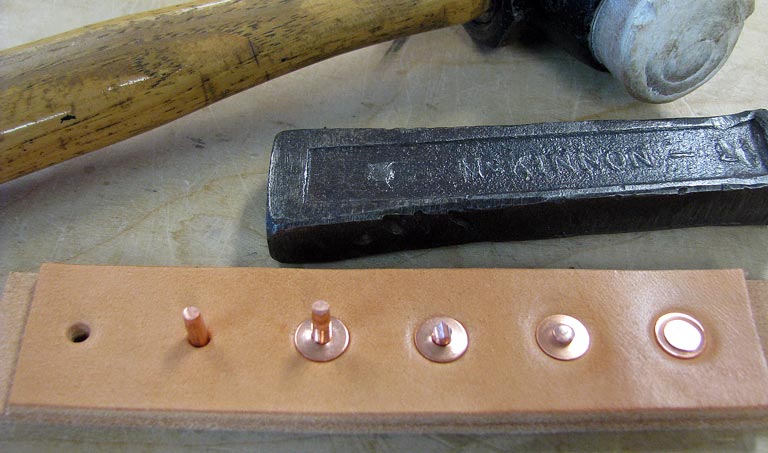
A Step-by-Step Guide to Putting Rivets in Leather
1. Prepare Your Leather Pieces
Begin by cutting and shaping your leather pieces to fit the design of your creation.
Mark the positions where you want to attach the rivets, using a ruler or template for accuracy.
2. Create Holes
Make holes in the stated positions on your leather pieces with a hole punch or rotary punch.
Ensure that the holes are the same size as your rivets.
3. Insert the Rivet
Pass the rivet through the hole from the front side of the leather, which is the decorative side.
4. Set the Anvil or Hard Surface
Place the back of the rivet (the side without the cap) on the anvil or a hard, flat surface. This serves as a stable base for setting the rivet.
5. Position the Rivet Setter
Place the concave end of the rivet setter on the front (cap side) of the rivet, making sure it completely covers the rivet.
6. Strike the Rivet Setter
Tap the flat end of the rivet setter gently with a mallet or hammer. Begin with gentle tapping and gradually increase the effort until the rivet is solidly set. To avoid harming the leather or the rivet, avoid striking too hard.
7. Check the Attachment
Check that the rivet is securely and evenly fastened to both leather parts once you’ve placed it. Check that the cap is securely fastened and that the back of the rivet is suitably flared.
8. Repeat the Process
Repeat for all of the rivets in your project.
Precautions During the Process of Putting Rivets in Leather
When putting rivets in leather, it’s critical to take care to safeguard your safety as well as the quality of your leatherwork.
Eye Protection
Wear safety glasses or goggles to protect your eyes from any debris that might be generated during the riveting process, especially when striking the rivet setter with a mallet or hammer.
Workspace Safety
Ensure you’re working in a clean and organized workspace. Remove any clutter or objects that could cause accidents. Keep the area well-lit to see your work clearly.
Sharp Tools
Use sharp and well-maintained tools, such as hole punches and cutting implements. Dull tools can slip and cause injury.
Proper Ventilation
If you’re using adhesives, dyes, or finishes, make sure you’re in a well-ventilated area or wear a respirator if necessary. Some leatherworking chemicals can emit fumes that are harmful when inhaled.
Finger Protection
Consider wearing finger guards or leather gloves to protect your fingers when handling sharp tools or the leather edges.
Work with Clean Hands
Ensure your hands are clean when working with leather. Oils, dirt, or grime on your hands can transfer onto the leather, affecting its appearance and finish.
Correct Tool Use
Use the appropriate tools for the job. Trying to use a tool for a purpose it’s not designed for can lead to accidents and damaged leather.
Avoid Overstriking
When setting the rivets, start with light taps and gradually increase the force until the rivet is securely set. Overstriking can damage the leather or the rivet.
Quality Control
Regularly inspect the rivets you set to ensure they are properly attached and secure. Loose rivets can lead to your project falling apart.
Practice
Before beginning your primary project, practice on scrap leather if you’re new to leatherworking or utilizing certain tools. This will help you become acquainted with the procedure and lessen the likelihood of errors.
Tool Maintenance
Maintain the condition of your tools. To avoid mishaps caused by dull or rusted equipment, clean them after use and keep them appropriately.
Keep Children and Pets Away
Ensure that children and pets are not in the vicinity of your workspace, as they may be curious and accidentally hurt themselves or interfere with your work.
Conclusion
Putting rivets in leather is a great technique that can be used on a variety of projects to enhance strength and visual appeal. Whether you’re making leather items for personal or business use, understanding the art of riveting will improve the quality and durability of your work.