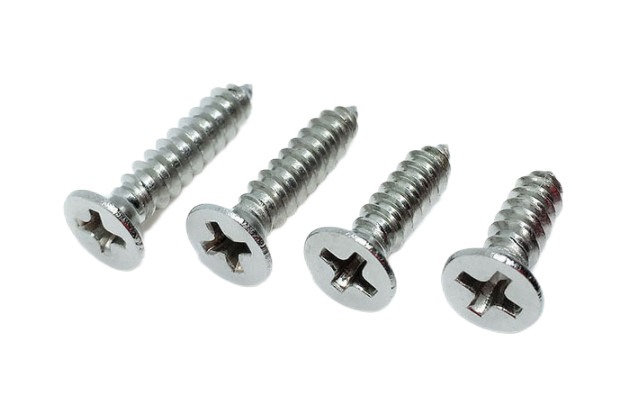
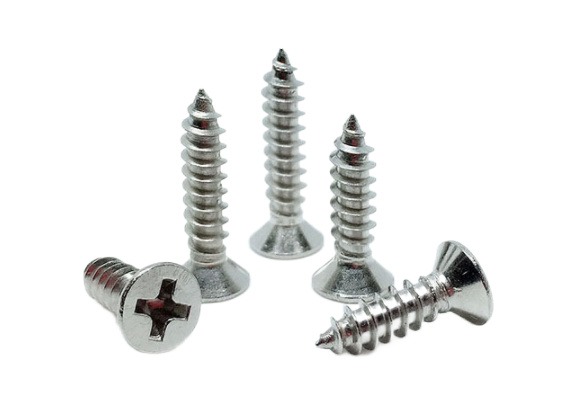
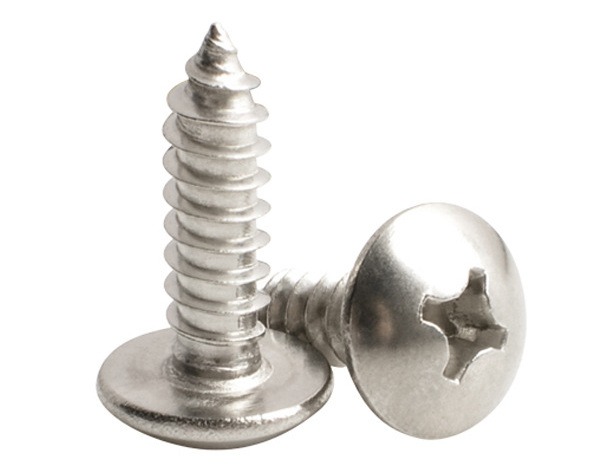
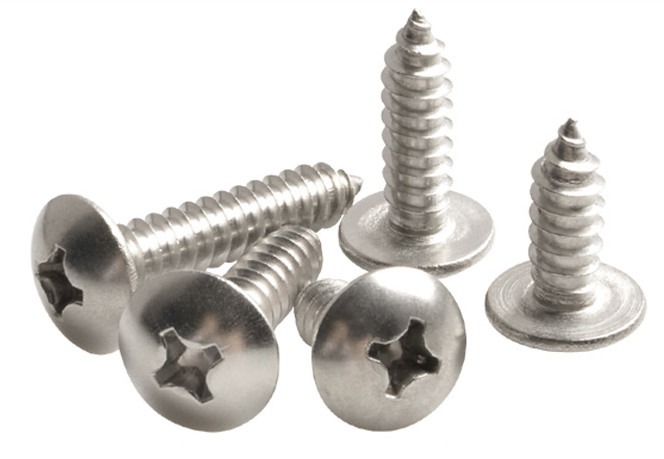
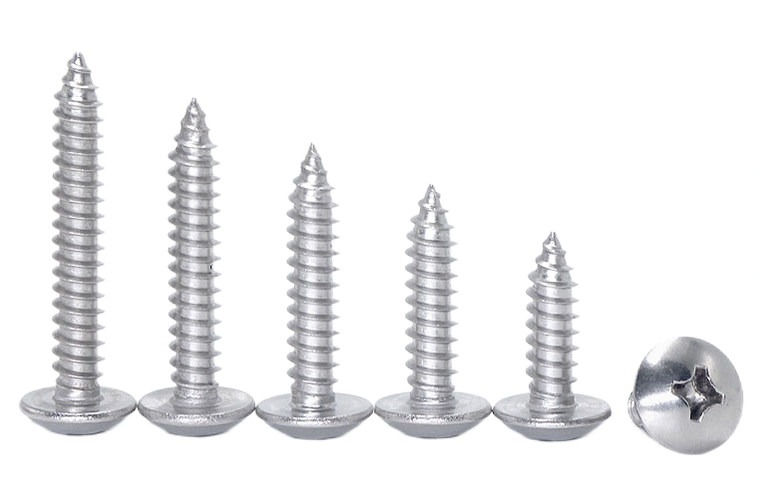
How to Use Self-tapping Screw Effectively?
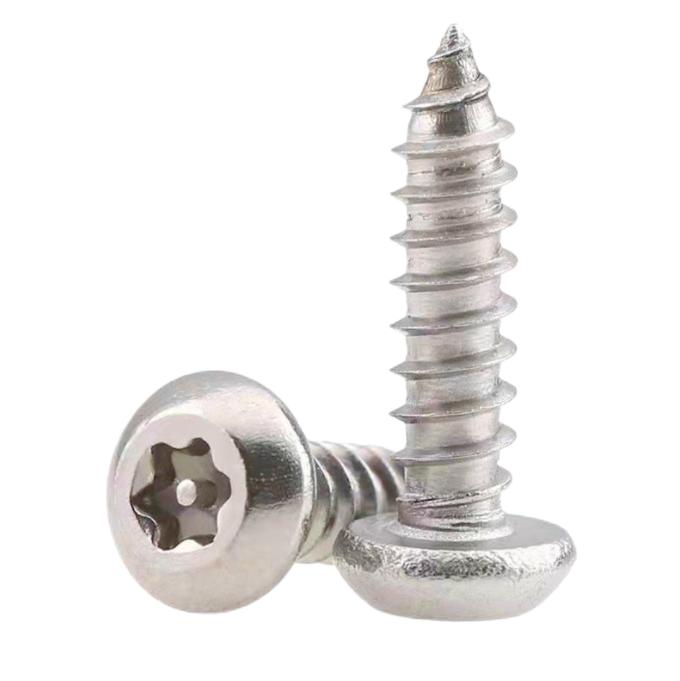
Self-tapping screws are flexible fasteners that provide convenience and efficiency in a variety of DIY and building applications. Self-tapping screws, as opposed to typical screws, have a sharp, pre-formed thread that allows them to establish their own mating threads when they are driven into a material. In this article, we will provide a detailed step-by-step guide on how to use self-tapping screws effectively, making sure successful and secure installation.
Importance of Using the Self-tapping Screws Effectively
Strong and Secure Fastening
By successfully using self-tapping screws, you ensure a strong and secure attachment between components. Installing self-tapping screws correctly, such as providing steady pressure and avoiding overtightening, helps to maximize their holding ability. This dependability is critical for the integrity of the built structure or equipment.
Time and Cost Efficiency
Using self-tapping screws effectively saves time and money. The self-tapping feature eliminates the need for pre-drilling pilot holes, allowing for a faster installation. Furthermore, its reusability permits changes and disassembly, reducing material waste and the need for extra fasteners.
Versatility in Various Materials
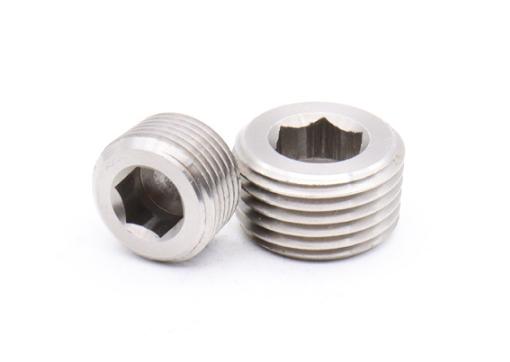
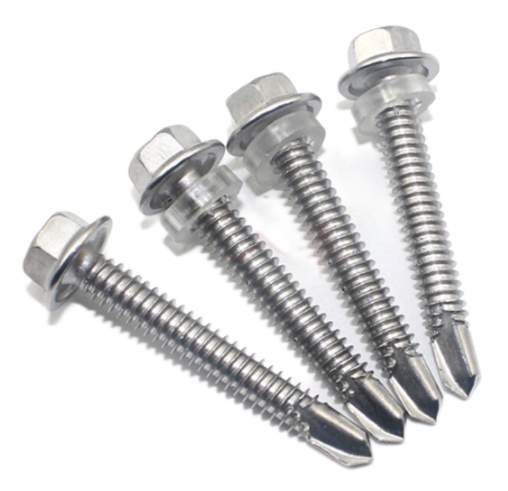
Self-tapping screws work with a variety of materials, including wood, plastic, metal, and composites. Understanding the individual material qualities and choosing the right self-tapping screw size and type for each application enables excellent performance and a secure connection.
Adaptability to Different Projects
Self-tapping screws are useful in a variety of tasks and industries. Using self-tapping screws efficiently allows you to tackle numerous tasks with confidence, whether you’re working on woodworking, construction, automotive, or electronics. They offer a dependable fastening solution that is tailored to the individual needs of each project.
Reduced Risk of Loosening
Self-tapping screws, when used correctly, reduce the risk of loosening over time. A secure and sturdy connection is ensured through proper insertion depth and tightness, as well as selecting the appropriate screw size and type for the material. This is especially significant in applications that are subjected to vibrations, movement, or dynamic loads.
Ease of Installation
The ability to use self-tapping screws effectively improves installation convenience. Understanding basic installation practices, such as starting gently and precisely aligning the screw, ensures a smooth and efficient installation. Because of their ease of use, self-tapping screws are accessible to both experts and DIY enthusiasts.
Reliable Performance
Following optimal procedures for using self-tapping screws ensures long-term dependability. Effective installation techniques aid in the preservation of structural integrity and the avoidance of problems such as stripped threads or early failure. This dependability is critical for the combined components’ or structures’ safety and performance.
A Step-by-step Guide on Using Self-tapping Screws Effectively
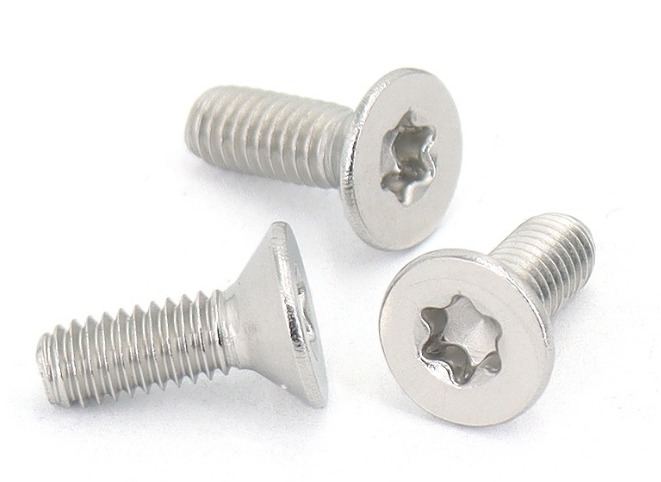
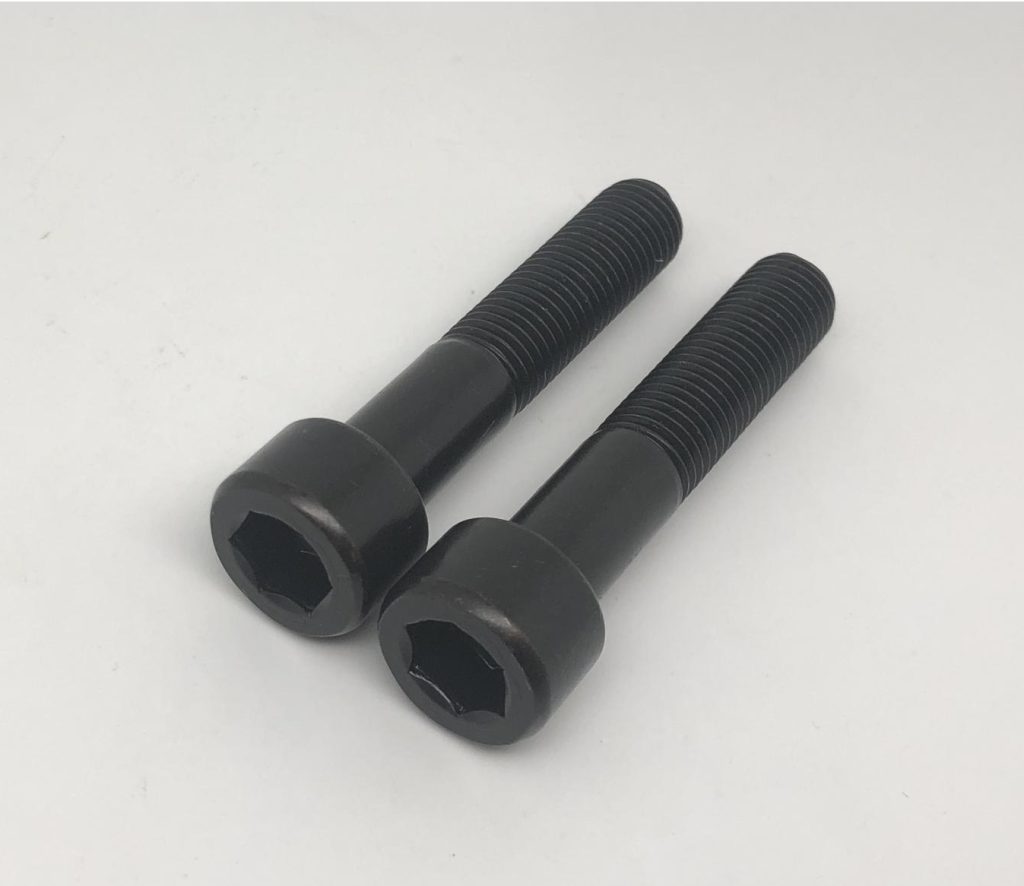
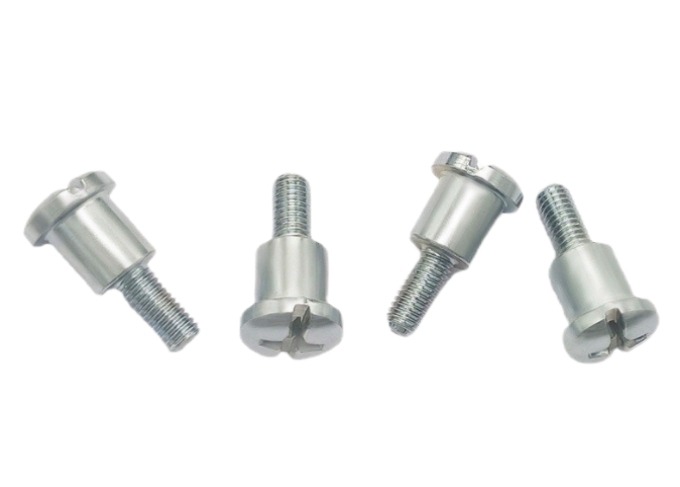
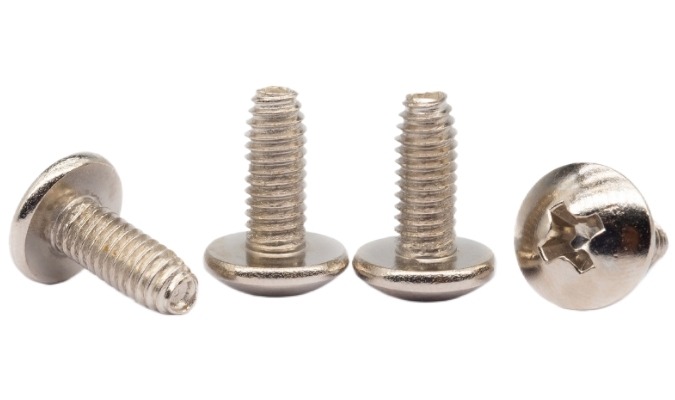
Step 1: Choose the Right Screw for the Job
Before you begin, it is critical to choose the correct self-tapping screw for your application. Consider material compatibility, screw size and length, and the level of strength and holding power required. Consult manufacturer recommendations or hardware shop specialists to verify you have the correct screw for your job.
Step 2: Prepare the Materials
Check that the items you’re using are clean and clear of debris. Pre-drill pilot holes in the material if necessary, using a drill bit that matches the diameter of the screw’s core. Pilot holes guide the self-tapping screw into the material, preventing it from breaking or damaging it.
Step 3: Positioning and Alignment
Insert the self-tapping screw into the material at the specified spot. Check that the screw is aligned with the desired path and angle of insertion. For improved handling and control, use a screwdriver or power drill equipped with a matching screwdriver bit.
Step 4: Start Slowly and Apply Steady Pressure
As you drive the self-tapping screw into the material, start slowly and apply steady pressure. Excessive force may result in stripping or damage to the screw or material. Take care not to overtighten, especially when working with softer materials.
Step 5: Monitor Depth and Screw Tightness
Keep an eye on the self-tapping screw’s depth as it enters the material. Take care not to overdo or plunge the screw too deeply, as this will weaken its hold. When the screw is flush with or slightly below the material surface, stop spinning it.
Step 6: Repeat the Process
If you need to use numerous self-tapping screws, follow the previous steps for each screw. Maintain consistent alignment, pressure, and depth throughout the installation to guarantee uniformity and stability.
Step 7: Finishing Touches
Inspect the self-tapping screws that have been installed to ensure that they are secure and flush with the material surface. Make any necessary adjustments or tighten any loose screws if necessary. If the screws are visible and appearance is important, consider using screw caps or covers to conceal the screw heads for a more polished appearance.
Step 8: Safety Considerations
When using self-tapping screws, always prioritize safety. When using power tools, wear appropriate safety equipment such as safety glasses, gloves, and ear protection. When handling tools and materials, be aware of your surroundings and the possibility of injury.
Summary
Self-tapping screws are extremely useful fasteners that make the installation of various projects much easier. You can use self-tapping screws to securely connect things together by following the step-by-step approach given in this article.