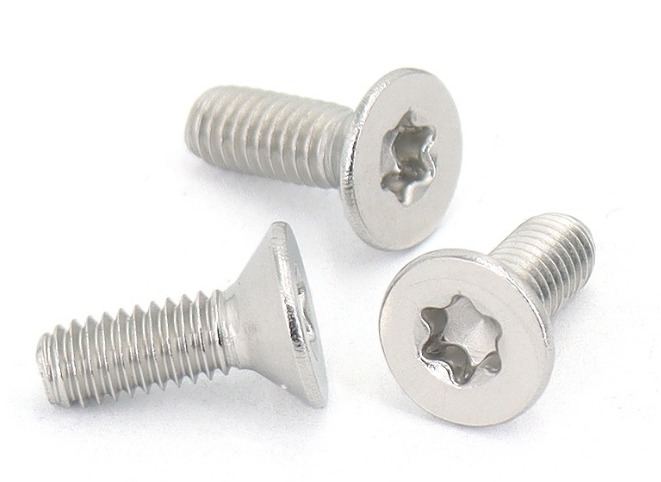
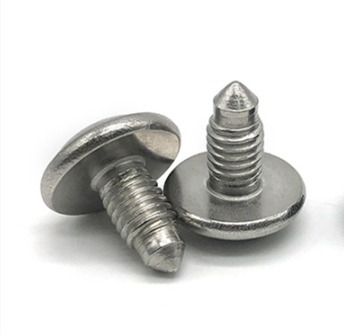
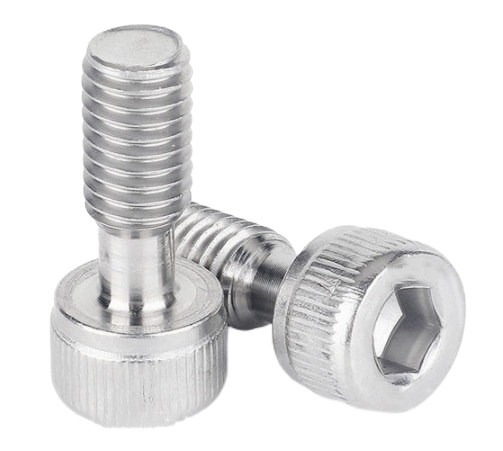
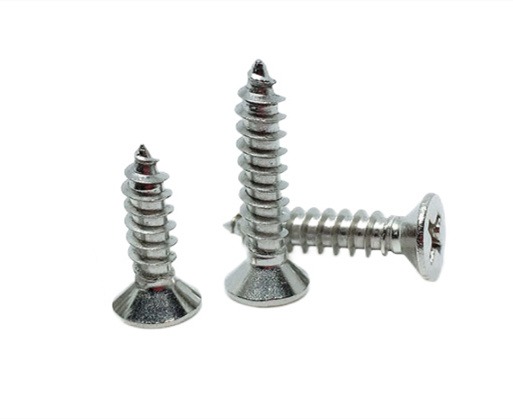
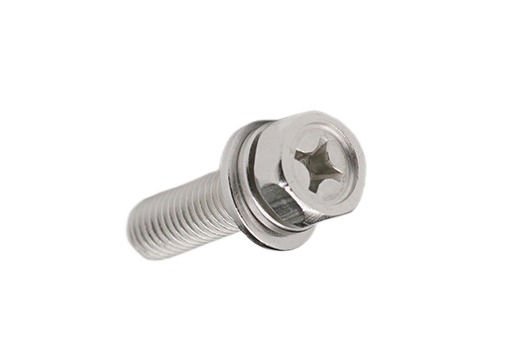
How to Measure A Screw Accurately?
Screws are vital components in various industries and DIY projects. Whether you’re repairing furniture, assembling machinery, or undertaking a construction project, knowing how to measure a screw size accurately is essential. In this article, we will explore the topic of how to measure a screw, providing you with a comprehensive guide on measuring screws, including the key measurements to consider and the necessary tools for the task.
How to Determine the Screw Diameter?
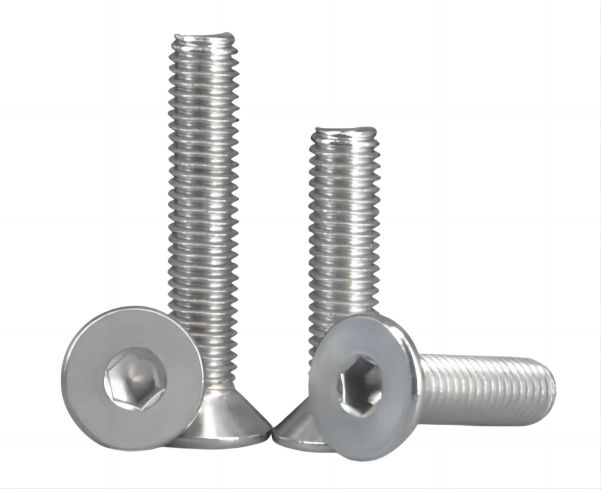
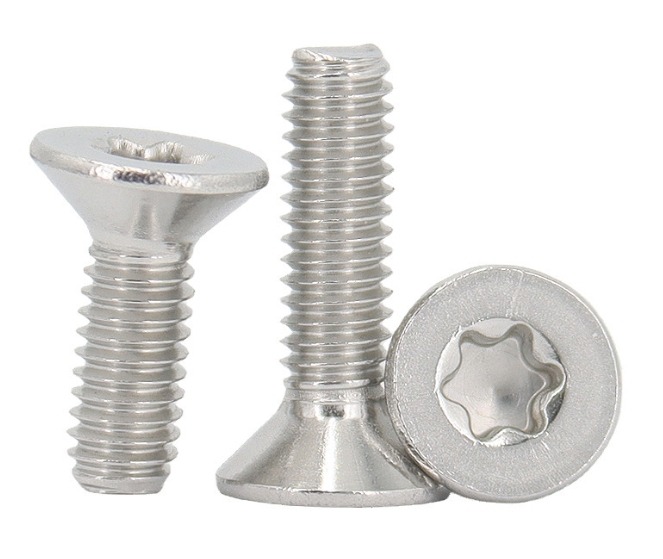
When measuring a screw, determining the screw diameter is critical. The diameter of a screw is the distance across the broadest section of its threads.
Using a Caliper
A caliper is an excellent instrument for determining the diameter of a screw. It is widely used in engineering, woodworking, and metalworking because it offers precise measurements. To measure the screw diameter, follow these procedures.
- Open the caliper jaws: Slide the upper jaw away from the lower jaw to fully open the caliper jaws.
- Place the screw between the jaws: Place the screw between the caliper’s jaws, making sure the jaws make contact with the widest area of the screw’s threads.
- Close the jaws gently: Close the caliper jaws slowly until they are snug against the screw. Excessive pressure may deform the threads, so use caution.
- Read the measurement: Look at the caliper scale or digital display to read the measurement of the screw diameter. Make a note of the value for future reference.
Using a Thread Gauge
If you do not have a caliper, a thread gauge can be used to determine the screw diameter. A thread gauge is an instrument that has various blades or pins of varying diameters, each of which corresponds to a specific diameter. Here’s how to use a thread gauge to measure the screw diameter:
- Select the appropriate blade or pin: Examine the thread gauge’s blades or pins and select the one that fits snugly into the screw’s threads.
- Match the blade or pin to the threads: Insert the chosen blade or pin into the screw threads. Make sure there are no gaps or excessive play.
- Determine the diameter: Determine the diameter by doing the following: Examine the measurement labeled on the blade or pin that corresponds to the screw’s threads. This dimension represents the screw’s diameter. Take note of this metric.
How to Measure the Thread Pitch of A Screw?
The thread pitch of a screw must be measured in order to calculate the distance between neighboring threads. Thread pitch for imperial screws is commonly measured in threads per inch (TPI) or millimeters for metric screws.
Using a Thread Pitch Gauge
A thread pitch gauge is an instrument used to determine the pitch of screw threads. It is made up of a set of blades with varying thread pitches. Here’s how to use a thread pitch gauge to measure thread pitch:
- Align the gauge: Begin by matching the thread pitch gauge with the threads of the screw. Check that the blades are parallel to the axis of the screw.
- Test the fit: Slide the blades of the thread pitch gauge along the threads until you find a blade that matches the distance between threads. It should fit snugly without any gaps or forcing.
- Read the measurement: When you’ve found the blade that corresponds to the thread pitch, read the matching TPI or millimeter measurement labeled on that blade. This value represents the screw’s thread pitch.
Using a Ruler
In rare circumstances, a ruler with defined increments can be used to estimate thread pitch. Although not as precise as using a thread pitch gauge, this method can provide a reasonable idea of the pitch. Take the following steps:
- Measure the distance: Place a ruler or tape measure alongside the screw threads.
- Count the threads: Count the number of threads inside a one-inch or one-millimeter span for imperial screws or metric screws.
- Calculate the thread pitch: Divide the total number of threads by the span (one inch or one millimeter for TPI).

How to Calculate the Screw Length?
Calculating the length of a screw is necessary to verify that it is appropriate for your specific application.
Place the screw on a flat surface: Begin by setting the screw on a level surface with the head up. Check that the screw is fully extended and not only partially screwed into the material.
Align the ruler or tape measure: Align a ruler or tape measure alongside the screw. Check that the beginning point of the measurement corresponds to the tip of the screw.
Measure from the tip to the screw head: Measure the distance from the tip of the screw to the bottom of the screw head using a ruler or tape measure. To ensure precision, take measurements along the screw’s middle axis.
Record the measurement: Make a note of the length after you have determined it. This will provide you with the screw’s overall length, including both the threaded and unthreaded portions.
When fully inserted, the screw may have a countersunk or flat head that lies flush with the material’s surface. In such cases, measure from the tip to the top of the head rather than from the bottom.
When working with very long screws, a carpenter’s square or another straight edge may be useful for supporting the ruler or tape measure and ensuring correct alignment. Also, make sure the screw is completely straight and not curved or warped, as this can alter the measurement.
You may correctly calculate the length of a screw for your individual project or application by following these steps and measuring from the tip to the screw head along the central axis.
Summary
Accurately measuring screws is crucial for successful installation, compatibility, and overall project success. It will enable you to make educated judgments when buying, changing, or working with screws in any professional application. Remember that accurate measurements of screw size lead to more efficient and effective projects.